The stairs are one place that is sometimes forgotten while decorating a home. While we typically think of surfaces as being the walls and floors, which can be decorated with paint, wallpaper, carpet, wood, stone, laminate, porcelain, and yes, tiles, whether ceramic or other types,
staircases can also significantly affect the final appearance and feel of your interior. The most suitable option for all houses in India. Why not tile the stairs and renovate the hallway to create a welcoming entrance to your home?
Any competent DIYer can complete this project over the course of a weekend because there are several ways to make it simpler.
According to Todd Saunders, CEO of Flooring Stores, a resource for selecting the ideal kind of flooring and contractor for any job, it is preferable to tile stairs from bottom to top in order to get everything lined up perfectly on the risers.
It will save you a lot of time on the wet saw if you purchase particular tiles for the tread edges. Also, choose a tile with some texture if you want better traction.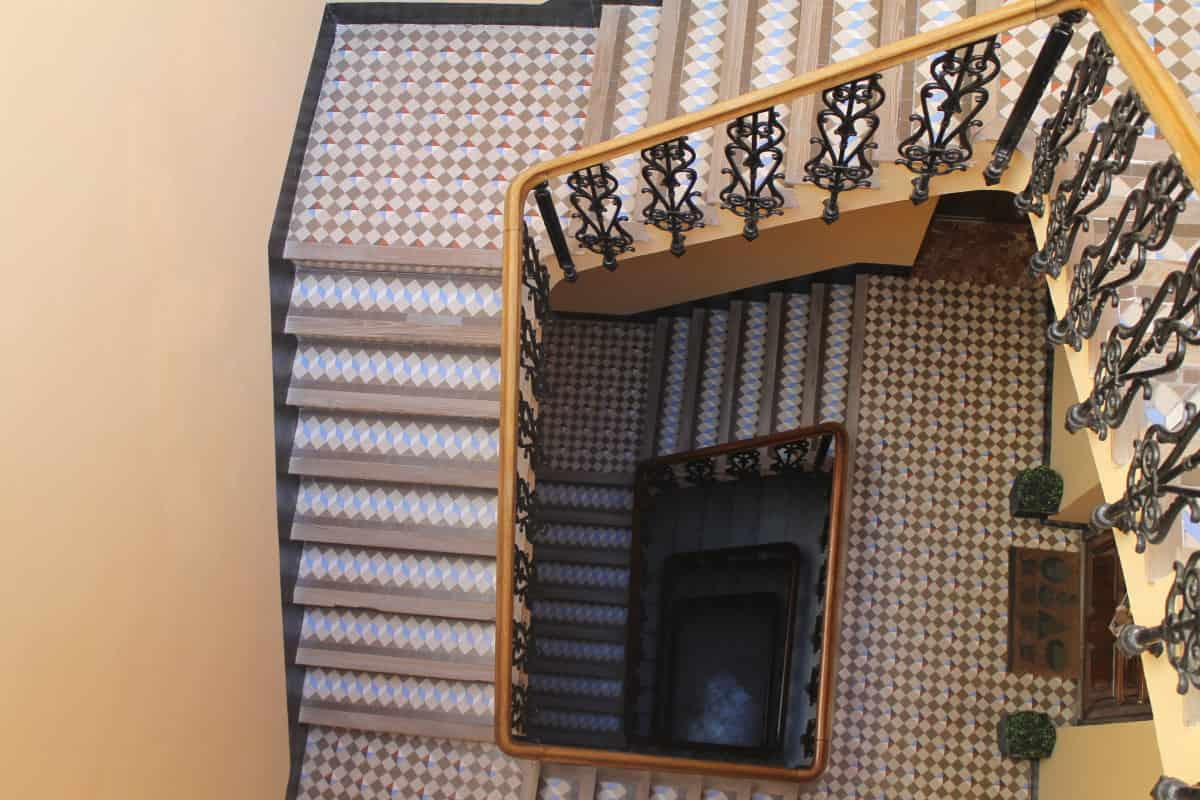
In light of this, we have put together a helpful guide that includes professional guidance on how to tile stairs. Additionally, you may get in-depth guidance on grouting tiles, how to tile a wall or floor, as well as how to clean kitchen tiles, all of which will advance your knowledge of tiling.
- TILE STAIRS – HOW TO
While stairs are undoubtedly an essential and practical component of any two-story house in India, they may also be made to stand out with a stylish tiled surface.
- WHAT TO BRING
Gather all of your equipment and supplies before you start, and most importantly, pick a time when nobody needs to go upstairs. Try to start it early in the morning before everyone else leaves for the day.
Water, a spirit level, thin-set mortar, a tile cutter, a bucket, grout floats, rubber hammers, notched trowels, safety gloves, and eye protection are also required.
- SET UP MEASUREMENTS PRIOR TO START
Measure the steps to determine how many tiles are required. Remember to include the vertical risers when measuring the width and length. To calculate the total area in square meters, multiply the total length by the whole width.
According to Simon Reading, a tiling expert at Housetastic, “If your stairs are an irregular form, it’s better to break different regions up for measuring and then combine the distinct measures together to get an overall measurement for all the steps.”
It is advised that you increase your final measurements by 10% to account for any errors or breakages that may occur during installation.
- MAKE THE STAIRS READY.
Make sure the area is level, dry, and clean after measuring the space to determine how many tiles are needed and purchasing your tiles. This will stop any fractures from forming once the tiles are installed.
Before tiling, Harriet Goodacre, brand communications manager and tile consultant at Topps Tiles, advises that your floor be entirely stable and free from any visible movement. You might need to reinforce the stairs themselves depending on the weight of your tiles; for assistance with this, contacting an expert is advised.
With the aid of a mortar and trowel, level off any uneven areas with a spirit level and prepare the surface for tiling. Simon Reading also suggests adding backer boards to each step for wooden stairs.
“Tape each joint, then cover the boards with tile.” Because wood can expand with time, he explains, “tiling over natural wood increases the likelihood that the grout will split.
- USE ADHESIVE
First, add a few droplets of water to a moist sponge to assist the tile adhesive in adhering to the stairway. But don’t add too much. Apply a thin coating of glue to the stair surface next using the flat edge of a notched trowel.
According to Simon Reading, “Create a semi-circle to provide an even and uniform layer of glue,” and make sure to cover a broader area than the tile itself of around two inches because this will allow you to fix any errors in judgment.
Use the comb side of the trowel to ensure the adhesive is even and to help it better adhere to the tile once you have applied this even coating.
- SET UP THE TILES
To avoid delays and avoid the adhesive drying out before you’re done, have your tiles ready, including those that need to be cut. To ensure that all of the tiles are even and straight, use the spirit level. For any uneven tiles, you can tap them gently with a rubber hammer. A forceful tap will crack the tiles, so be careful.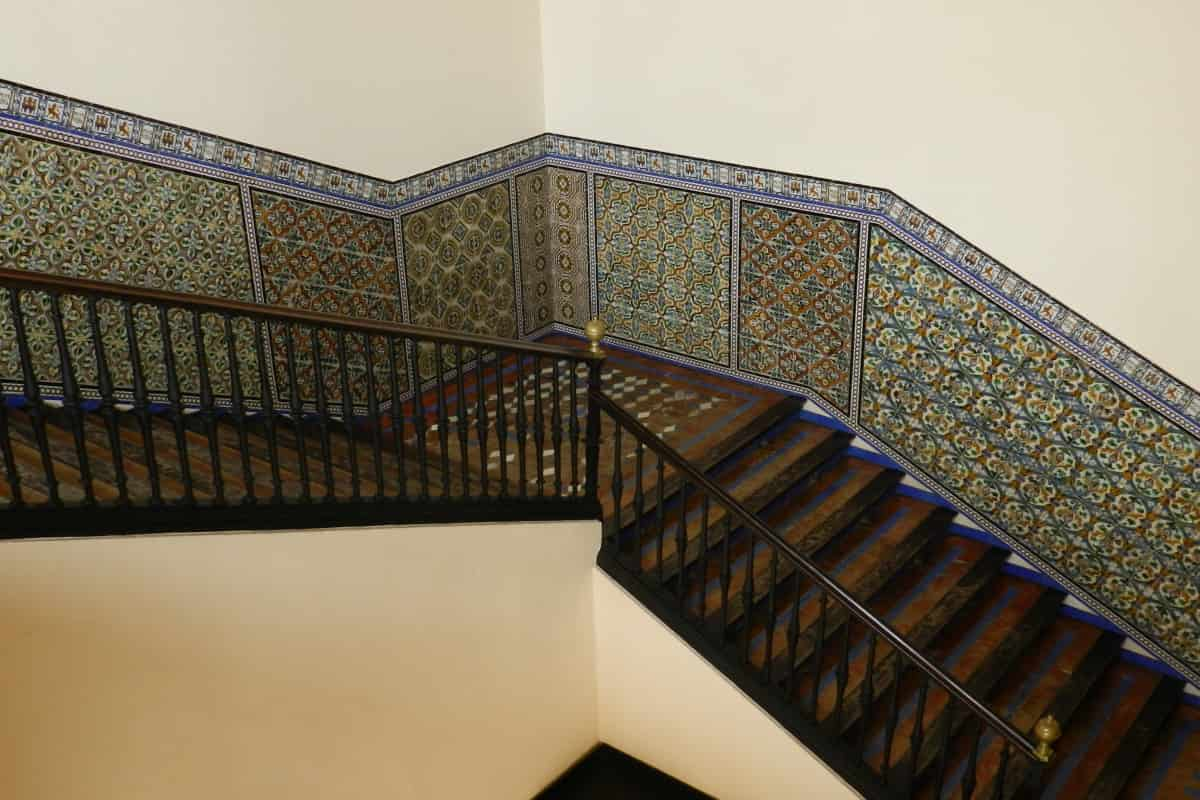
Use your trowel to apply glue to the back of the tiles and apply to the riser, placing the upper edge of the tile flush with the edge of the stair tread, says Harriet Goodacre.
Mark a middle point on each riser and work from the center outwards. Apply the tiles to the stair tread next, aligning them flush with the edge of the tile on the riser.
To ensure that the glue adheres properly, set the tile on a bed of adhesive, press down, and slide it into place. To verify that it is flat and even, use a spirit level, and then place a tile spacer between each tile to guarantee uniform spacing.
- GROUTING IS THE LAST STEP
The grouting between the tiles can be done after the tiling is complete and the glue has dried. They will remain put thanks to this. Use the grout float to press firmly into each joint and smooth the grout over the openings.
When it has dried, use a moist cloth to remove any excess by wiping the surface. After giving everything a full 24 hours to set, conclude by giving everything one last wet towel wipe down.
WHAT TILES WORK WELL ON STAIRS?
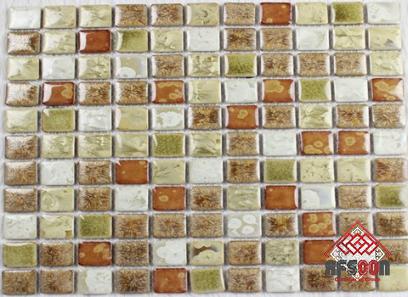
The most suggested tile for staircases is porcelain. This is due to the material’s strength, durability, and propensity for longevity. For a unified effect, flooring in the hallway and downstairs area can be matched with any number of ornamental patterned designs, as well as lookalikes of timber and stone.
WHAT IS A BULLNOSE STAIRCASE TILE?
You’ll need enough bullnose tiles for this sort of staircase in addition to tiles for the treads and risers to cover all of the outer edges of the stair treads. The bullnose should be tiled first, followed by the tile between it and the riser, and then the riser pieces. Utilize tile spacers to assist.

Your comment submitted.