This article explains how to tile stairs step by step. If you employ the proper methods and equipment, installing ceramic tile on the stair is simple.
In this article, we’ll demonstrate how to lay tiles on concrete stairs to make them sturdy, easy to maintain, and attractive.
When you are doing the task as a professional, you must pay attention to a few details when installing tiles on stairs. If the steps are uneven, you must pour mortar on top of them to level them out. Wait a few days for the mortar to dry completely before tiling the stairs.
Make sure the stairs are level, plumb, and even before anything else. As a result, before beginning the project, you must use a level and a tape measure to evaluate the condition of the steps.
Install the backer boards first if the stairs are constructed of wood. Cut them to the appropriate sizes, then screw them to the treads and risers. Last but not least, you must use tape and a thin set to seal the interior and exterior seams. Make sure to lay the backer absolutely level and plumb, and work slowly.
The second step is to buy ceramic tile made for stair installations. Keep in mind that you should use tile stair nosing rather than normal tiles when installing them on internal stairs.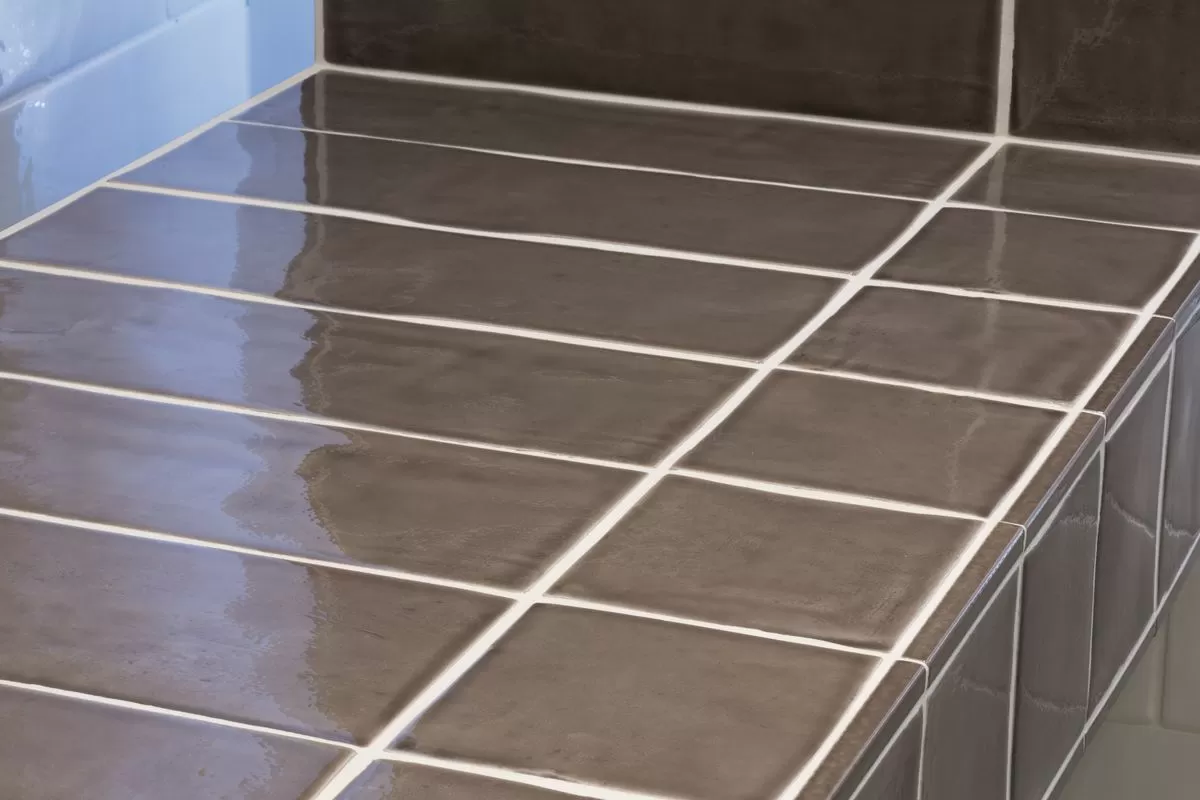
The tile nosing not only looks nicer, but they are also more durable over time and more resistant to knocks. Go to your local retailer and take precise measurements of the stair surface to determine how many floor tiles and tile nosing are required.
If you want to do the project in a single day, you should begin laying ceramic tiles on steps from the top down. Depending on the glue you used, you shouldn’t walk on the stairs for at least 24 to 48 hours after you’ve laid the tiles on the entire area.
For accurate information, we advise you to read the instructions printed on the adhesive carefully.
To begin with, you must ensure that the stairs are level and plumb, and even so, failing to do so would prevent you from installing tiles. In order to ensure that the base surface is level, you should use a three ′ spirit level.
Before you place the tiles, make sure the surface is exactly level by pouring a bed of mortar if you see anything out of the ordinary.
Additionally, you need to measure the stairs with a tape measure to make sure they are of the same height. Additionally, it would be best if you used a trowel to eliminate any surface irregularities that may be present.
On the other hand, you have two options if you wish to tile wooden stairs. First, you could glue the tiles directly onto the wood, but we don’t advise this because the wood will eventually expand and shatter the grout in between the tiles. The second option is to attach backer boards to the steps, tape the joints, and then put in the tiles.
It would be best if you used a notched float to spread the tile adhesive. This device is quite helpful because it allows you to apply an even coating of adhesive to the floor. As a result, you can apply a level bed of adhesive by using the comb side of the float.
The stairs must then be tiled, beginning at the top. In order to ensure that the tile adhesive will adhere to the floor, you should sprinkle a few drips of water on a too-dry concrete floor.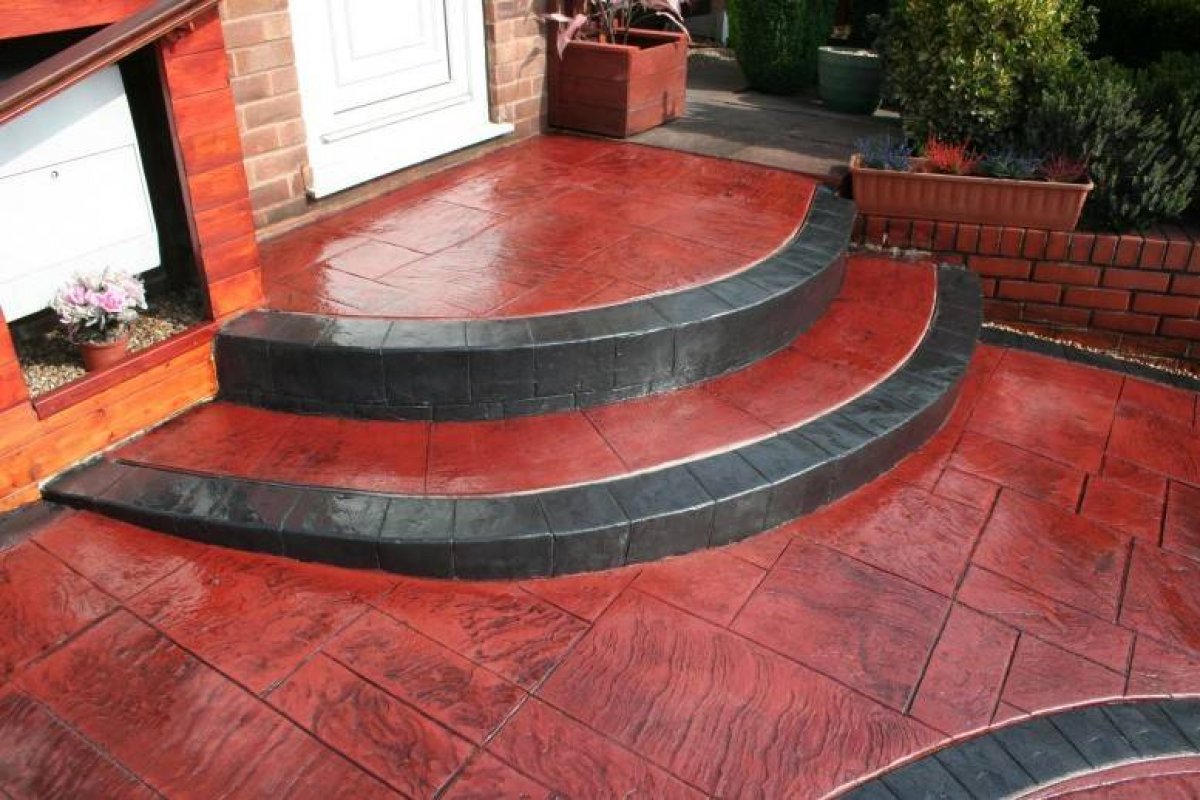
You may use a sponge to add water evenly. However, you must be aware that the glue won’t stick to the floor if you leak too much water. Additionally, please make sure the ceramic tiles are free from flaws and scratches before preparing them for installation. To get the result you want, it would be great if you took this factor into account.
Use a margin trowel to load the float once the tile adhesive has been properly mixed and prepped. The glue must then be applied to the stairs, starting with the straight side of the float.
If you want to do it professionally, use semicircular motions to apply the glue until you have even coverage on the surface (use the straight edge first to spread the material). Next, hold the trowel at a 45° angle and comb the adhesive.
The notched side must be used to comb the tile adhesive after it has been applied to the floor using the straight side. In order to ensure that the tile flooring is completely level, use the float to spread the adhesive layer until it is even.
You must apply glue to a surface that is larger than the footprint of the tiles you intend to install. As a result, you should spread adhesive at least 2″ over the ceramic tile’s footprint. After installing the tile on the stairs, you should use a trowel to scrape off any extra adhesive.
You can see in this image how to distribute the sticky bed on the stairs. Since the task is not difficult, you should be able to complete it more effectively with a little extra effort. Although the uneven concrete surface caused us some difficulty, it eventually looked good.
Keep in mind that the surface must be level (or plumb) and that the adhesive layer must be uniform across the entire surface (the thinset should have the right consistency).
The tile stair nosing needs to be installed following the application of the tile glue. Even though it might seem difficult, tiling stairs is actually rather simple if you use the correct supplies and equipment and work carefully and patiently.
Last but not least, you must tap the steps softly with a rubber hammer after you tile them (mallet). In this manner, the tiles are leveled and locked into place. As a result, we advise using a spirit level to confirm the tile alignment.
You should clean the tiles with a moist sponge and some water if they become stained with glue. You run the danger of removing them from their position if you use too much water since the glue will dissolve.
The top of the stairs may be seen in this picture. If you are successful in installing the stair tile nosing, the remainder of the project should go smoothly.
Ceramic tiles must be put on the tread of the following stair once the tile nosing has been installed. This will allow you to conceal the cut line while installing the stair raiser.
You must use an L-square to install the stair raisers in order to ensure that they are plumb. To effectively tile the steps, you must pay close attention to this element. It would be best if you utilized the l-square on both sides of the tiles to examine this aspect.
To ensure that the tiles are installed uniformly, you must install tile spacers in between each tile.
The next step is to continue putting tiles on the steps using the methods and advice previously discussed. Your steps will have more personality and style if you work slowly, add tiles one at a time, place tile spacers, and cut the tiles with a wet saw and score and snap cutter professionally. Ensure the tiles are straight and in good condition.
Last but not least, laying the tiles on the landing is the most challenging part of tiling a staircase. Additionally, the task is more difficult if you have a split landing, but anyone who works carefully can complete it.
As a result, be sure to install the tiles with the tile nosing in alignment. If you want to appear professional, you must take into account this factor. You need to make a few intricate cuts. Therefore it would be best to rent a wet saw to complete the task fast and correctly.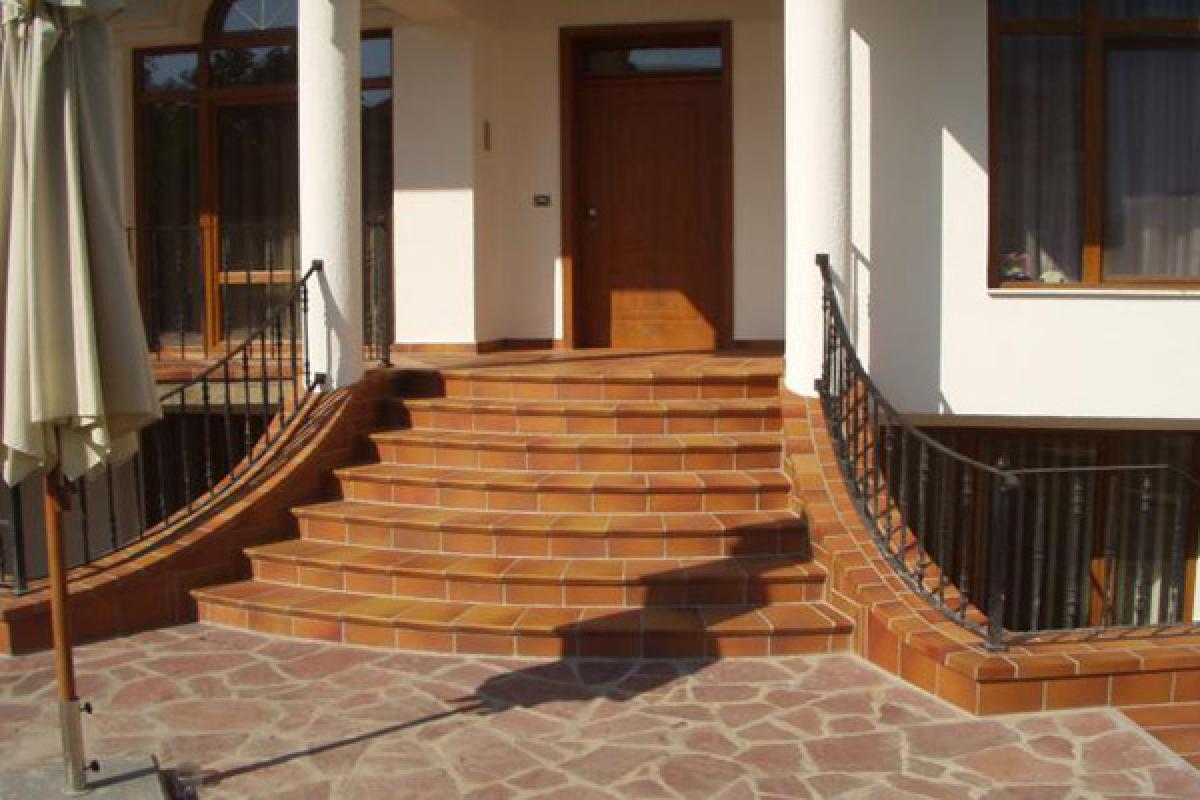


Your comment submitted.