Here, we offer a workable option to assist you with a challenging project best for use in the Philippines. Tiling a stair and staircase is a distinctive approach to brightening up a corridor or outdoor space.
First, we should know how to measure stairs for purchasing ceramic tiles. With a tape measure, measure the length and width of each step you intend to tile. Don’t forget to account for the risers’ vertical length, which refers to the back surfaces of the stairs that face your feet and cause them to ascend.
You may calculate how many square meters you’ll need by multiplying the two measurements together. Divide areas with irregular shapes into separate segments to calculate individually, and then add the results together.
Don’t forget to budget an additional 10% for breakages, cuts, and waste. 10-15% is recommended if you are tiling in a brick bond design. If you’re unsure, bring the height and breadth of each step you’re tiling into your neighborhood store, and they can give you advice.
The appropriateness and slip resistance of any floor tile should be carefully considered, especially if you plan to tile exterior steps. For increased security, you might want to think about installing a slip-resistant stair nosing.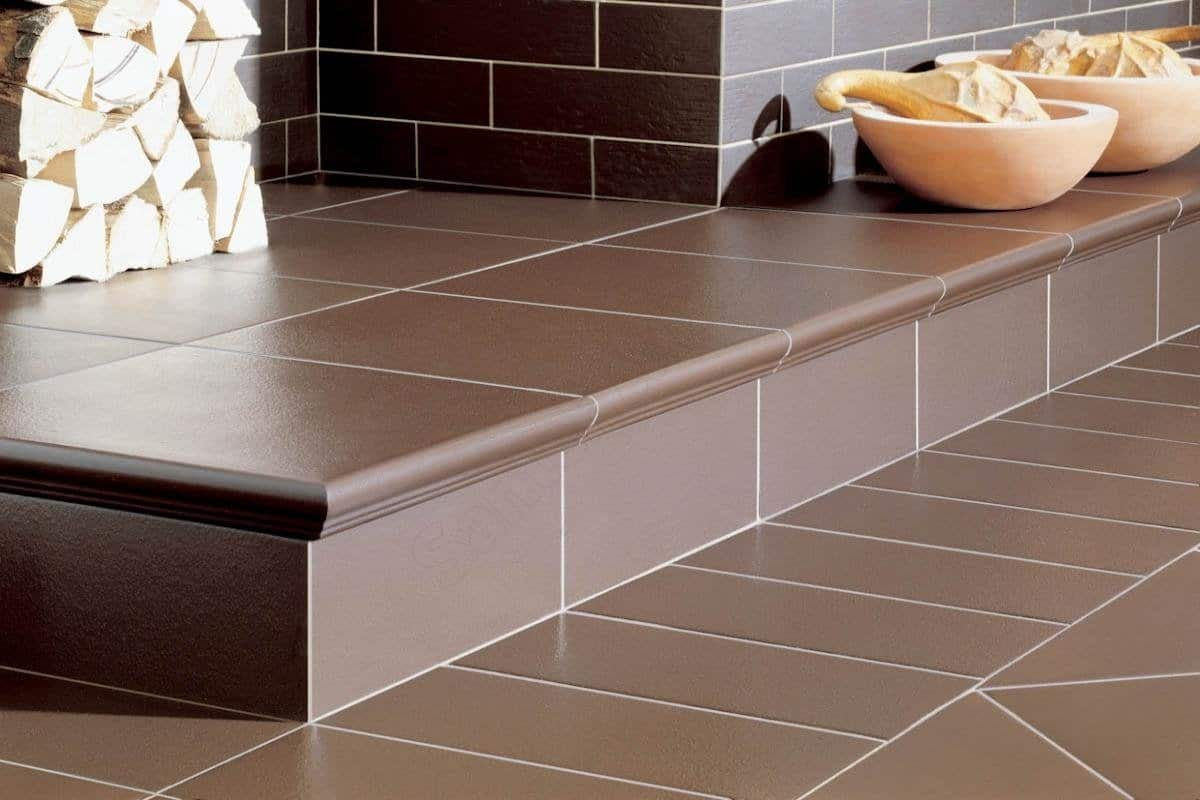
Getting Ready For Substance
Concrete must be at least six weeks old in order for drying shrinkage-related movement to have occurred. The concrete needs to be level, clean, dry, and devoid of pollutants such as dust and laitance that could function as a release agent and prevent the adhesive from adhering to the concrete, as well as flat.
Use a wire brush to dry brush the concrete if it is dusty and remove any loose particles.
To lessen the absorbency of the concrete and control dust, brush on BAL APD primer that has been diluted 1:1 with water. It is important to establish that the substrate is dry before beginning the tiling procedure. A moisture reading should be performed to confirm if in question.
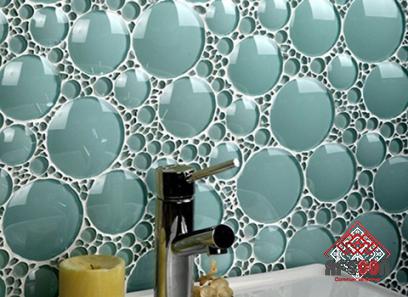
Add a spirit level to check the step’s level; if necessary, use a suitable leveling agent for a professional finish. You might want to think about using bullnose tiles on an exterior step to provide a neat finish along the edge.
As long as they are properly prepared, practically all flooring substrates can support the installation of tiles. The floor needs to be level, clean, dry, and clear of any loose objects, grease, or dust. There must be no visible movement on any of the surfaces (known as deflection).
To manage the added weight of the tiles, you might need to reinforce the stairs in addition to eliminating the deflection from them. Ask an expert for guidance on how to make your stairs stronger.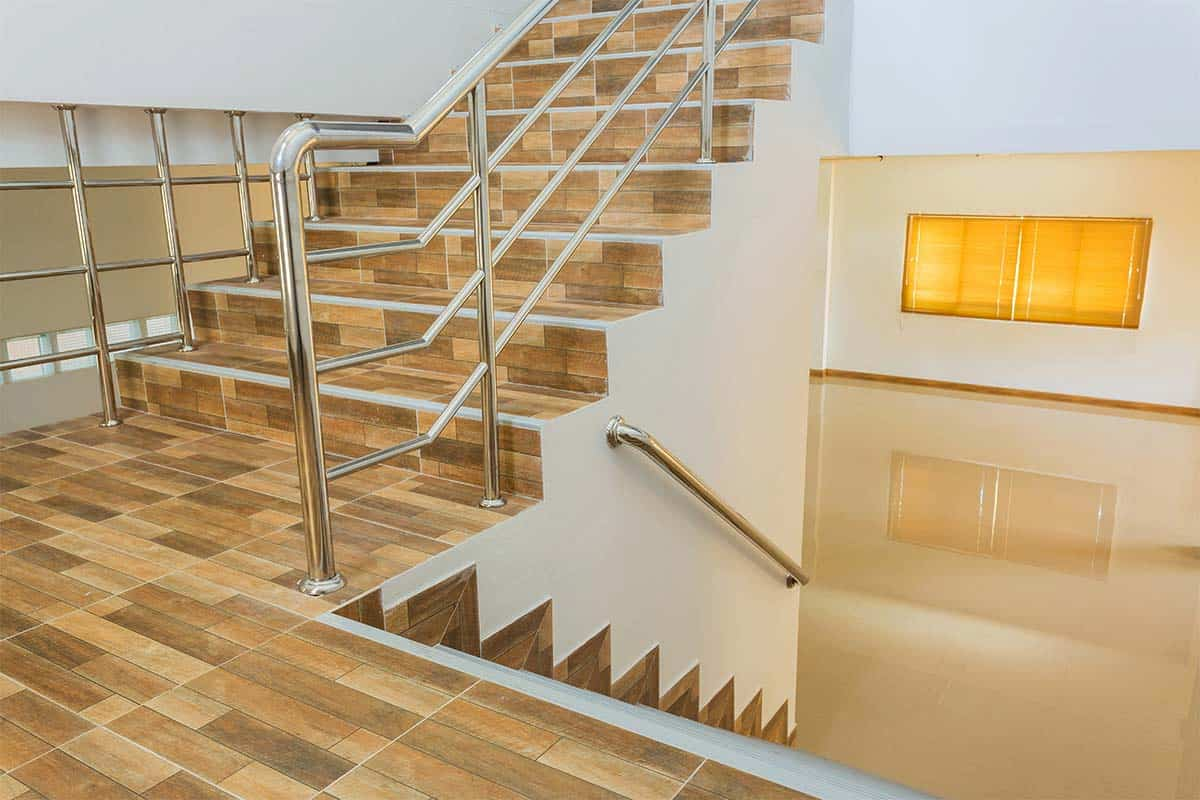
Remove any trims, carpets, rugs, or other objects from the stairway area to prepare the wooden steps and the surrounding area for tile installation. Make sure the hardwood stairs are free of any nails, tacks, or staples.
Remove the nose board from the front of each step; it is the part of the tread that protrudes past the step’s riser or backboard.
Cut the nose board flush with the riser using a jigsaw, multi-tool, or circular saw. To create a flat and smooth work surface, sand the cut area. Before using sandpaper by hand, use a sander to begin. Clean the stairs of dust and other debris. Sweep the area, then use a damp cloth or sponge to clean each step.
When the step is ready, you might need to go overboard. If so, think about utilizing WBP-grade plywood that is at least 15mm thick. The back face and edges of the boards must be sealed with undiluted BAL Bond SBR prior to installation.
The main issue with tiling over a wooden stairway is that each step will wiggle up and down. This is known as deflection, and it causes a tiny spring or bounces when your foot is on this kind of substrate.
If this movement isn’t fixed before tiling, there’s a good chance that the tiles may lift and break or that the grout will fall out of the seams.
The floor will be declared appropriate to get a tiled finish if the structure is deemed to be sufficiently free from deflection.
A glass tumbler should be filled with water to the brim and positioned in the middle of each step to test the steps’ stiffness. Bounce up and down on the step while standing on either side of the tumbler. The floor would need to be strengthened if the water leaked out of the glass.
It should be noted, however, that in some installations, a staircase may still not be able to withstand the increased weight of tile without significant bending, even when strengthened with an overlay.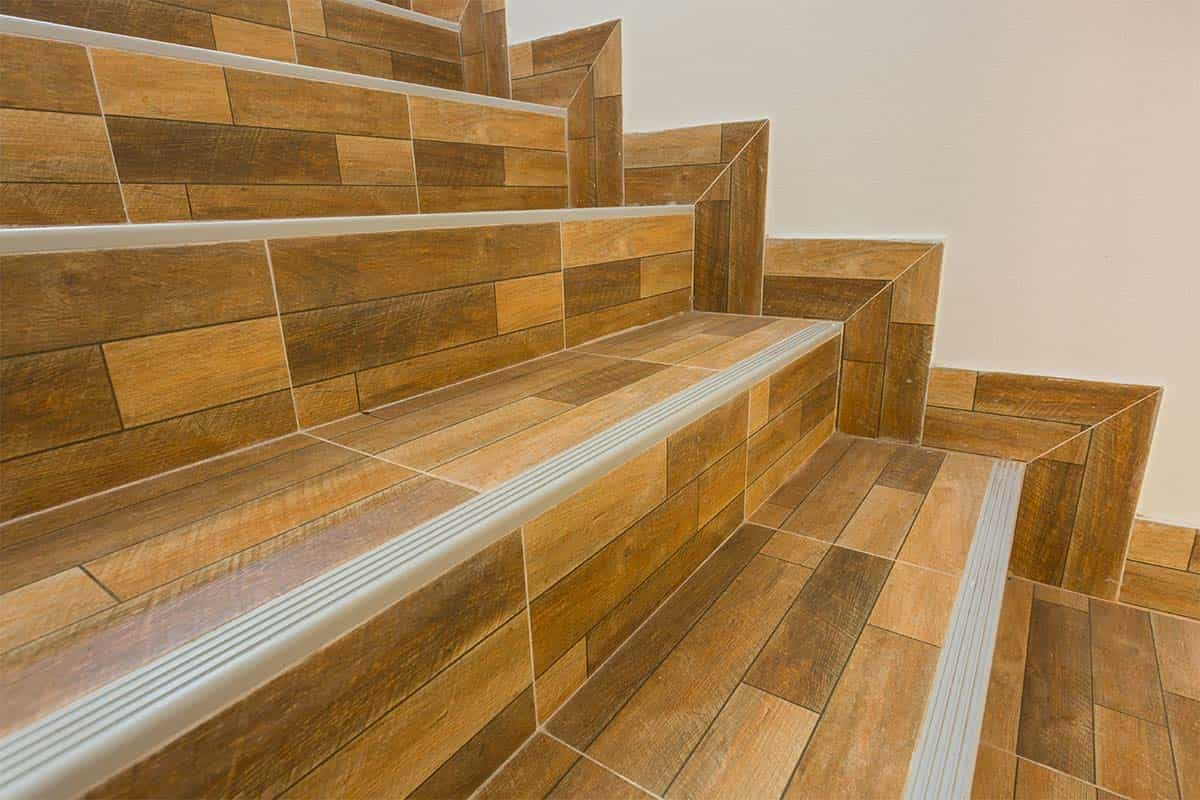
Stair tile installation
After completing the necessary preliminary work, you are now prepared to tile. Tile from the top step all the way down, starting at the top.
The major objective is to ensure that the center of each step is positioned correctly because the basic guideline is to work from the center outwards. Identify the midpoint on each riser. Your first tile needs to be placed there. At each end, the others will be arranged alongside it.
Due to its rubber-like flexibility qualities, we advise using BAL Single part Fast Flex adhesive while tiling a wooden or internal staircase. Choose BAL Rapid Flex Fibre or Topps Tiles Flexible Grey for concrete or outdoor steps. As instructed on the adhesive’s container, combine the product.
Start with the risers while tiling the steps. By aligning the upper edge of the tile flush with the edge of the horizontal stair tread and applying adhesive to the back of the tiles with your trowel, you may attach the tiles to the face of a vertical step riser.
You must use an L-square to install the stair raisers in order to ensure that they are plumb. To effectively tile the steps, you must pay close attention to this element. It would be best if you utilized the L-square on both sides of the step to inspect this aspect.
Place the tile on the bed of adhesive, press down, twist, and slide into place to ensure the glue sticks properly, then apply the tiles to the stair tread surface, aligning up the edge of the tile flush with the edge of the vertical stair riser tile (placed beforehand) (for larger tiles, it may require a thin layer of adhesive on the back of the tile as well as the step).
Before inserting a tile spacer between each tile, use the spirit level or straightedge to check that each tile is even and flat.
There will be a gap that you will fill with grout if you attempt to push the tile down, so it sits flush on top of the stair riser tile. The tile may fracture, chip, or even come away from the stairs if it is right on top of another tile due to excessive tension and pressure.
To ensure uniform gaps between tiles, use spacers with a minimum thickness of 3mm for indoor steps and 2mm for outdoor steps. Using a tile cutter, cut any necessary tiles to size.
When feasible, give the adhesive 24 hours to fully set after tiling (check the bag for setting times).
- Grouting
To finish the perimeter expansion joint, we would suggest a solution like BAL Micromax2, which is also available with matching silicone.
- How to Clean Your Tiles
The next day, the face of the tiles will need to be given a final cleaning with Fila First Wash utilizing cleanup pads to get rid of the polymers the grout left behind. If the polymers are not eliminated, the tile surface may develop a haze. When the tiles are dry, buff them with a fresh towel until they are spotless.
If you want to protect your tile against stains, you might want to think about sealing it. Ask your local retailer for help finding the right product for your tile’s needs.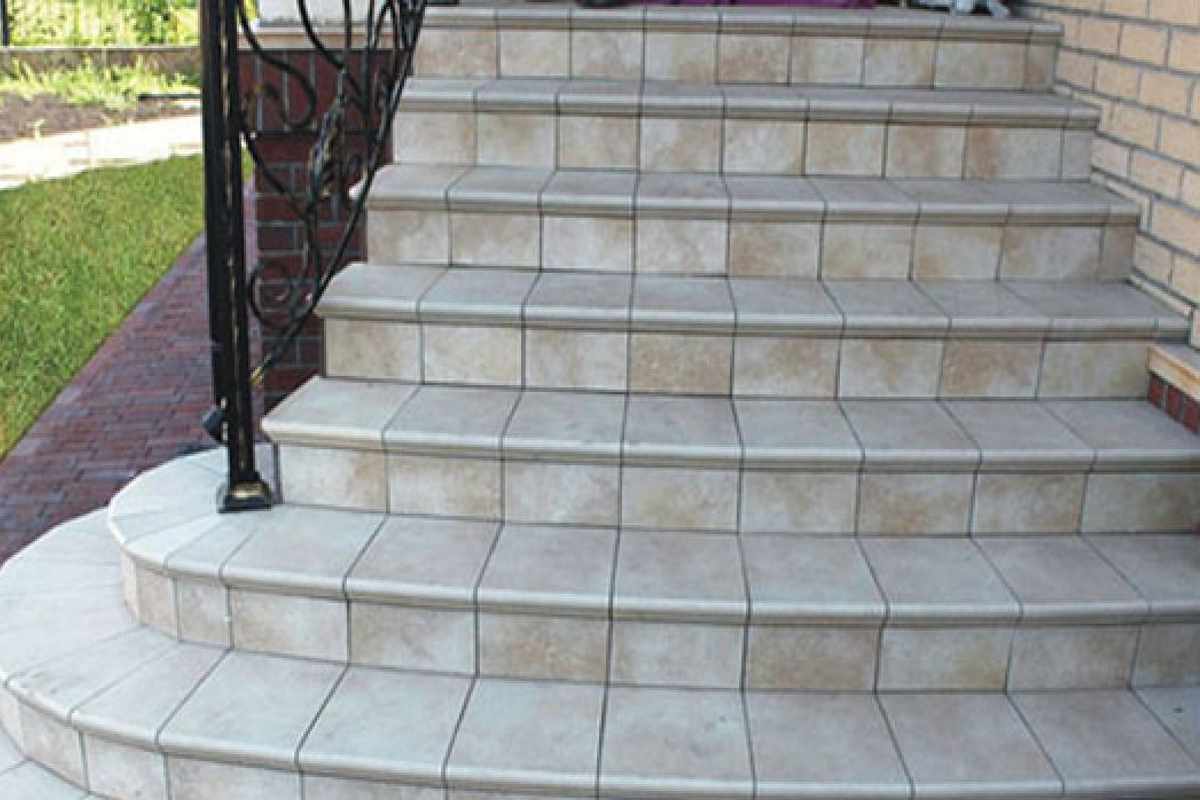


Your comment submitted.