Painting tiles of bathroom, whether on wall or floor, can renovate its atmosphere. However, if you want to do it by yourself, there are some essential points to know six of which are reviewed in this article.
The days are long gone when the only way to modernize an ancient, dingy, or plain-looking bathroom tile was to replace it with new tile altogether. These days, professional tile paints that are developed specifically for tile may be purchased in a can and used to radically modify the appearance of the tile on your bathroom’s walls, floors, and other surfaces.
All you need is one can. Before beginning to paint the tile in the bathroom, it is necessary to do an analysis of the major project variables as well as the limitations that will be imposed. The following list will walk you through the six considerations you need to give attention to when deciding on a paint color.
Painting existing bathroom tiles is a significantly more cost-effective option than replacing them.
It has been previously said that paint is a low-cost substance. It should therefore not come as a surprise that this is the most cost-effective approach to update bathroom tile that is not crumbling, cracking, or otherwise compromised structurally in some other way.
DIYers who are careful with their spending can get 100 square feet of painting done for less than $100. Depending on the type of tile you pick, the cost of do-it-yourself retiling can range anywhere from $100 to $1,500 for a standard bathroom floor that is 35 to 100 square feet in size.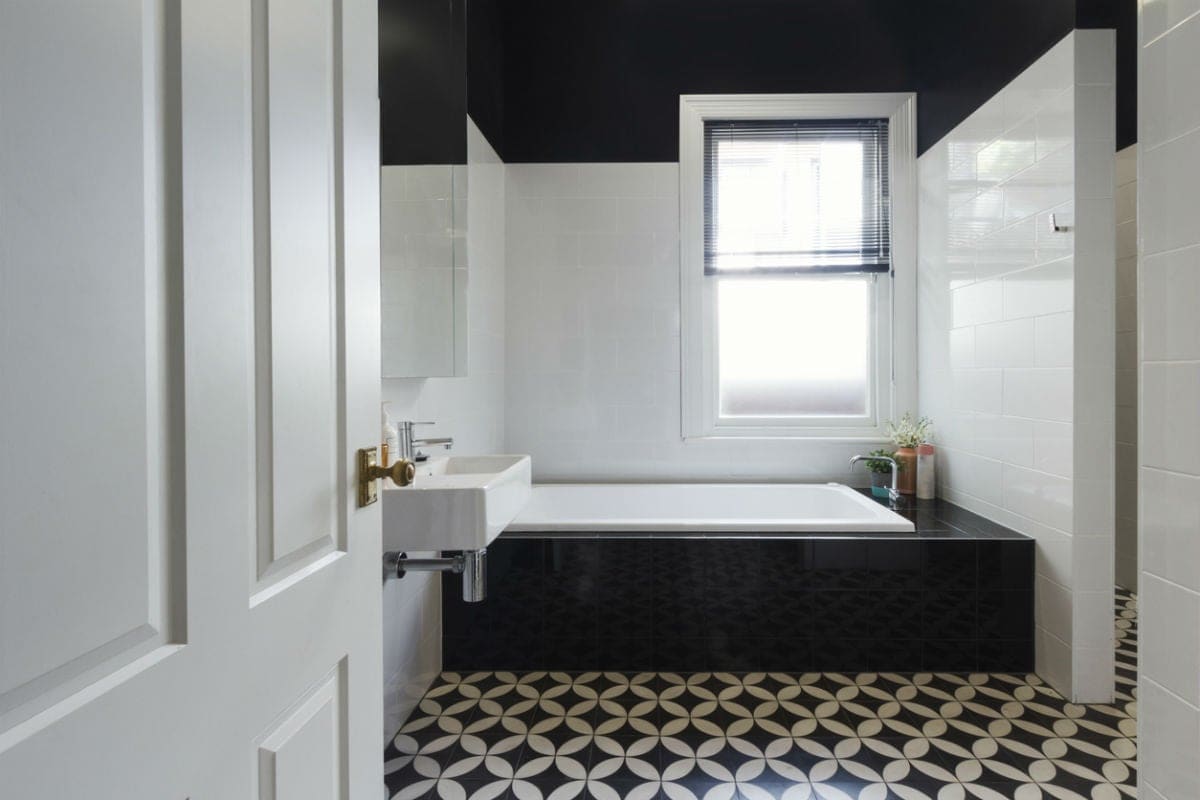
Do you also intend to tile the walls of a shower stall of between 9 and 13 square feet, as well as the tub surround? That would result in an additional cost of between $400 and $1,300, as estimated by the online planning tool CostHelper.com.
At the low end of these price ranges is tile with a solid color that is crafted from affordable materials such as ceramic. At the high end of these price ranges is tile with a pattern that is crafted from expensive materials such as marble and can be up to 15 times more expensive.
Patterns in painted tile flooring, on the other hand, would only set you back twice as much money for supplies (depending on how many colors), in addition to taking twice as much time.
It enables an infinite variety of looks.
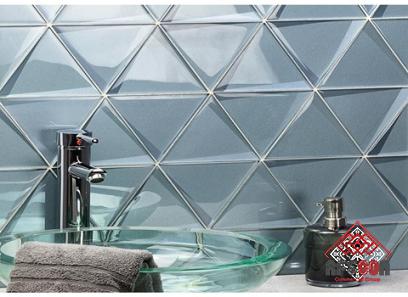
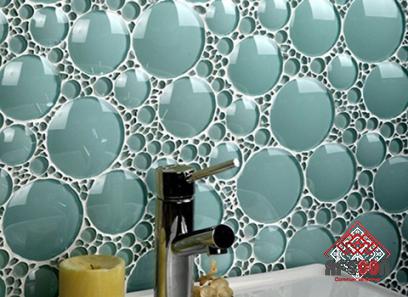
Common types of tiles used in bathrooms include ceramic, porcelain (which is a subset of ceramic tile), natural stone (such as marble, travertine, slate, granite, or limestone), and quarry tile. These tiles can be purchased in a wide variety of solid colors as well as patterns.
However, these pre-made varieties may not be compatible with the design of your bathroom, may become unfashionable soon after they are installed, or may just be too expensive to install. You are able to modify the color or pattern of your tile to meet any bathroom style by using paint.
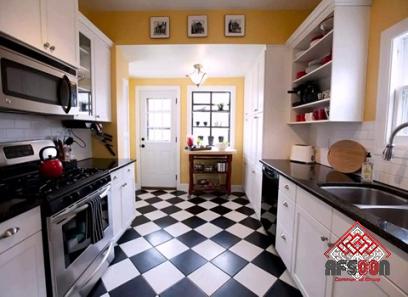
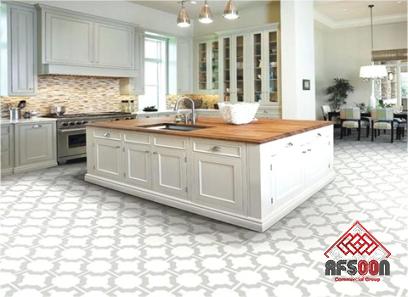
This includes changing from a traditional checkerboard pattern to a cool and contemporary geometric pattern. In addition, if your preferences shift after three years, you may easily repaint the room in a short amount of time.
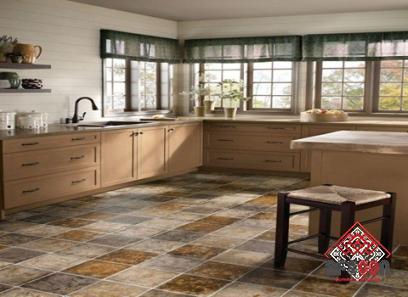
Keep in mind that using lighter paint colors is preferred for bathrooms that have limited space. This is because darker paint colors absorb more light, which can give the appearance that a bathroom is smaller than it actually is.
It would be quite inconvenient to paint every surface of the bathroom tile.
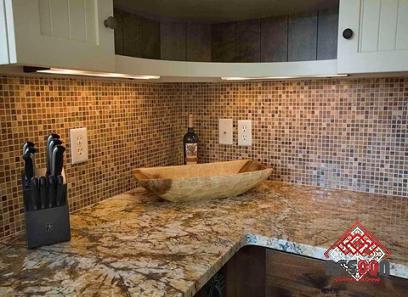
You are able to paint the majority of the main types of tile, such as ceramic, porcelain, natural stone, and even unglazed quarry tile; the only type of quarry tile that cannot be painted is glazed quarry tile, because it does not bind well with paint.
However, tiled bathroom surfaces with low to moderate moisture exposure, such as bathroom floors (aside from those right close to the tub), walls, and backsplashes, will hold the color of your paint work the longest. This is because tile absorbs less moisture than other materials.
In spite of the fact that they can be painted, tiled worktops, tub surrounds, or shower surfaces are not the greatest surfaces for this treatment over the long haul.
This is due to the fact that paint is more likely to prematurely age, peel, or blister when it is frequently exposed to water. However, if you don’t mind doing repeated touch-ups or reapplications while waiting for your budget to allow for a complete remodel of your bathroom, this remedy could be the perfect option for you.
It is crucial to choose the appropriate paint for the surface of the bathroom tile as well as the type of tile.
Ceramic, porcelain, and unglazed quarry tile can all have latex or epoxy paint added to them for interior use. This paint can either be of the one-part (pre-mixed) or two-part (ready-to-mix) variety.
In general, latex paint, which can cost anywhere from $10 to $30 per gallon, is less smelly and harmful. However, unless you choose a more expensive variety that is resistant to mildew, it swiftly ages when in continuous contact with moisture and so should only be used for the walls or floors of bathrooms.
The “splash zones” of backsplashes, worktops, tub surrounds, and shower surfaces are all good places to use epoxy paint, which costs between $20 and $35 for a gallon.
This type of paint dries into a coat that is stronger, more robust, and more resistant to moisture, heat, and normal wear and tear than its predecessor, latex, which was latex-based.
Consider searching for a two-component epoxy with excellent ratings that is designed specifically for tiling and bathtubs. One example is the Rust-Oleum restoration kit, which can be purchased on Amazon and other online shops and has almost 2,000 customer ratings and reviews.
On the other hand, natural stone tiles need to be painted using an acrylic latex paint that has been created specifically for use on interior masonry or stucco and costs between $20 and $35 per gallon.
All of these paints are offered in a diverse selection of sheens, ranging from matte to high-gloss finishes. The glossier the finish, the more likely the painted tile may cause accidents. Sheens that are semi-glossy and high-glossy provide the least traction, while sheens that are flat and matte provide the maximum.
This is a disadvantage on surfaces like shower floors that are already prone to slipping, as semi-glossy and high-glossy sheens provide the least traction.
It’s possible that you won’t be able to use your restroom for a whole weekend or perhaps longer.
The process of painting bathroom tiles may be broken down into five stages: surface cleaning, priming, painting, applying patterns, and sealing. Each stage requires careful attention.
The amount of time it takes to finish the project is dependent on a number of factors, including the length of the project (whether it be just a few accent tiles on the backsplash or the entire wall) as well as the complexity of the pattern you are applying to the tiles. Here is what you can look forward to:
In order to properly prepare the surface, it is necessary to first sand the area, then vacuum it, and last clean both the tile and the grout lines.
Priming the tile is the first step that needs to be taken in order to make it more paint-friendly. Use masonry primer for natural stone or unglazed quarry tile,
epoxy or urethane priming for ceramic or porcelain tile (see a sample on Amazon), or both of these types of primer depending on the type of tile you are using (view example on The Home Depot).
You will not want to cover something that is sticky, so make sure you read and follow the guidelines for the dry-time on the primer.
After “cutting in” around the borders of each tile, you can paint the bathroom tile by either brushing or rolling color onto the individual tiles. This is done after first painting the border around each tile.
The second method may take more time because it demands the use of an angled brush as well as a steady and accurate hand in order to prevent soiling the grout or the tiles that are located around it. If you intend to use this method for more than just a few accent tiles, be sure to make the necessary preparations.
After that, you are not allowed to touch the paint in any way, nor should you walk on it while it is curing during the course of the subsequent two or more days.
When you want to add a pattern to tiles that have already been fully cured, you typically start by taping a stencil that is either commercially available or that you have made yourself to the tiles that you want to pattern.
After that, you roll over the stencil with a roller cover that has been dipped in the same paint as the tile. Again, you will need to wait until the entirety of the dry time.
The next step, although certainly not the least important one, is to seal the painted bathroom tiles. This will protect your work from scuffs, scratches, and grime.
When planning, you should also take into account the amount of time required for your clear sealer (masonry sealer for natural stone or quarry tile, or urethane sealer for ceramic or porcelain) to cure completely. You should not start using the restroom until you have waited the whole amount of time that has been allotted to you.
In light of everything that has been said, it is possible that the remodeling will render the restroom inaccessible for between two and three days.
You can’t even sneak into the bathroom to get the facewash you inadvertently left behind while you’re thinking about painting new flooring, so make sure you carry all of the essential supplies outside with you before you start. If you don’t, you won’t be able to get away with it.
It takes a relatively low amount of maintenance.
Tile that has been sealed and painted just has to be cleaned on a routine basis by sweeping, vacuuming, and mopping using a tile cleaner that is either purchased or created at home and is matched to the tile. This will allow the tile to retain its color and protect it from abrasive particles.
If you place mats in high-traffic areas and floor pads beneath furniture that is placed on tile, you can prevent scuff marks and impressions from being left on the paintwork.
If there are any defects in the paint job, you can make touch-ups with the paint you have left over and a paintbrush designed for artists. After that, you must wait until it has completely dried before resealing that spot.
There is a professional exporting team behind this website which is ready to cooperate with wholesalers and traders around the world.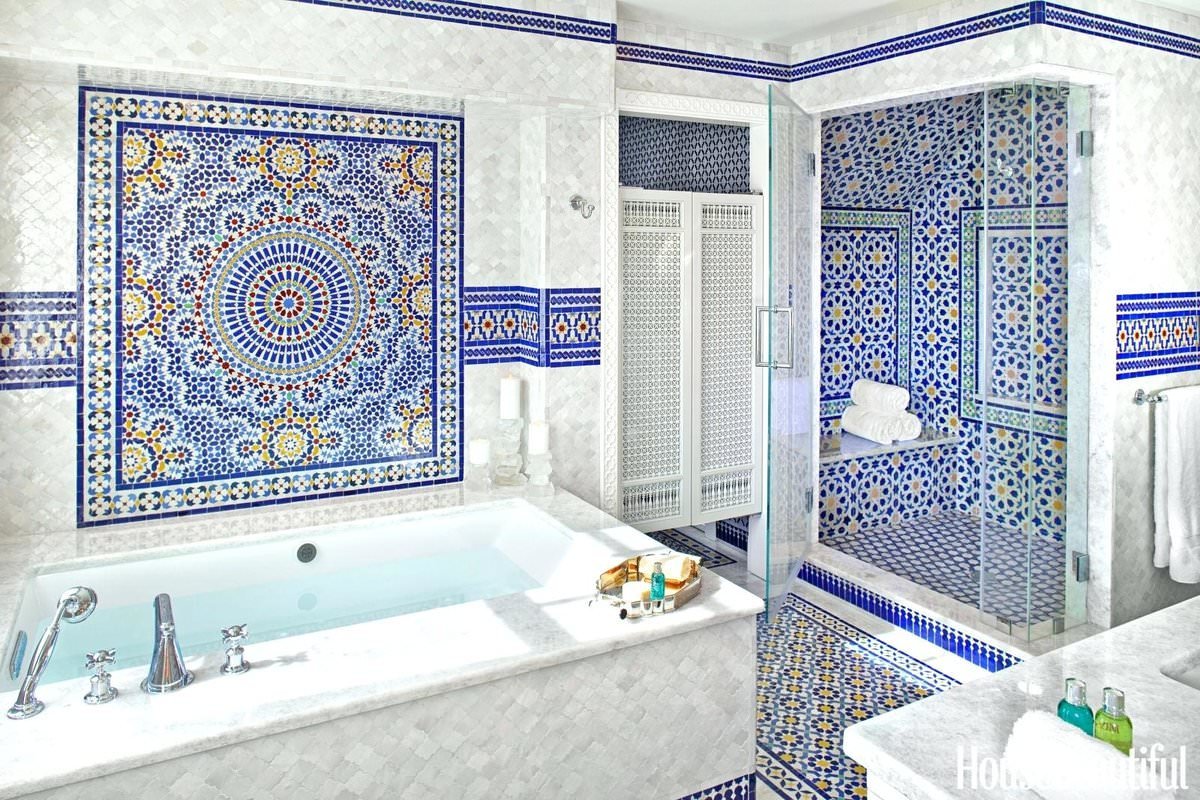

Your comment submitted.