One of the most suitable types of wall tiles for the bathroom is large format. In the following lines, you may read about the installation and some design ideas of large format tiles for your desired bathroom.
When it comes to selecting a material for your bathroom tiles, you’ll face with a large variety of colors, styles, sizes, and finishes available. But how can you tell which type of tile will work best in your house?
We’re going to go over each tile material below to assist you make a selection. With the appropriate information, you’re sure to find a tiling option that’s made for your home, whether maintenance issues are your primary concern or you’re searching for a finish that won’t go unnoticed.
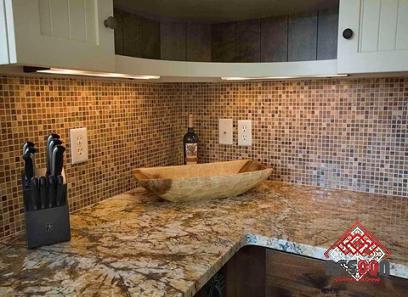
Bathrooms and travertine tiles go together like peaches and cream. This magnificent sedimentary rock is utilized to produce a distinctively textured tile that gives any wall or floor warmth and personality.
Bathroom tiles made of travertine come in a variety of lovely, earthy tones, and the best part is that no two tiles are exactly alike. This implies that your bathroom will be totally unique, regardless of whether you want to design a space full of raw beauty or counterbalance some opulent furnishings with a rough, all-natural tile.
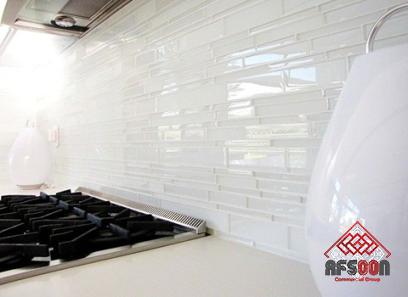
Ceramic bathroom tiles are available in a wide variety of styles, making them suitable for both a stylish bathroom splashback and a lovely, useful flooring option.
They combine the strength to withstand everyday use with an easy-to-clean surface. Ceramic is a real all-around material that comes with the added benefit of being well suited to this active part of the house, whether you desire tiles in pristine white or embellished with rich, elaborate patterns.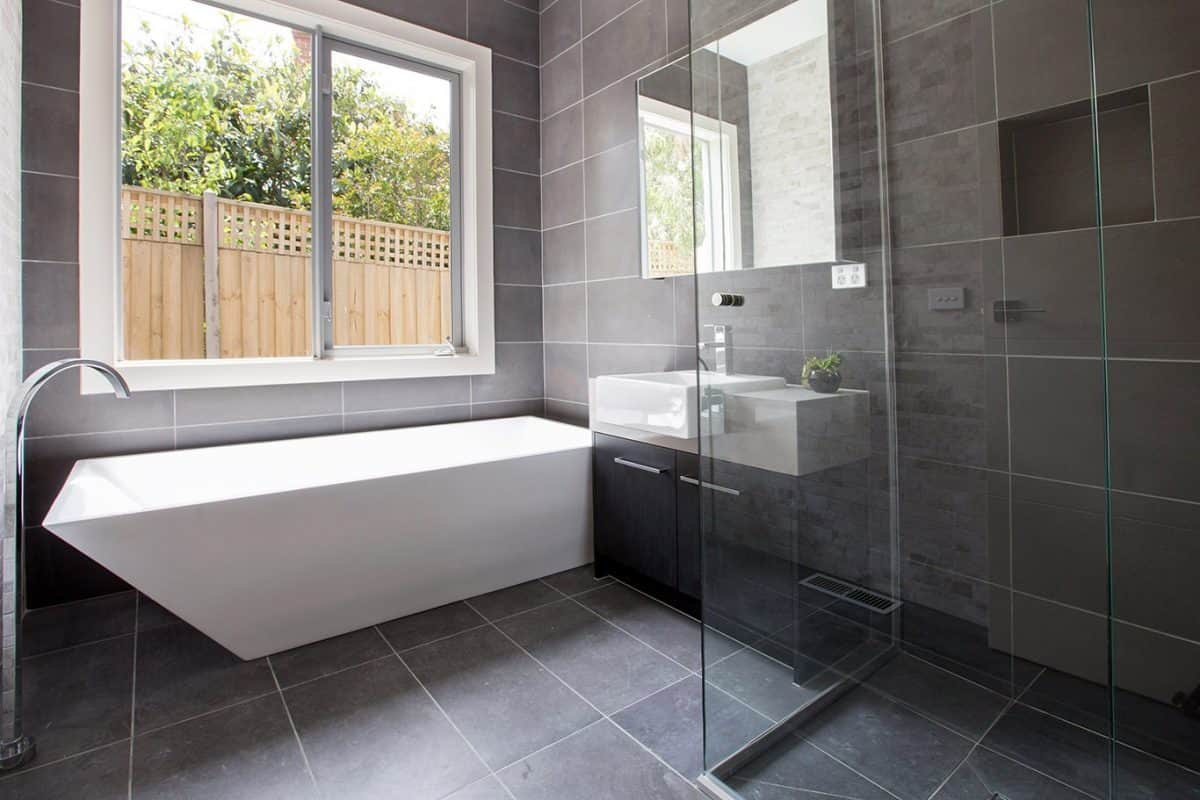
Porcelain is a well-liked substance when it comes to tiles that are ensured to last because it is sturdy and long-lasting. You may have confidence knowing that your flooring will look fantastic for many years if you invest in porcelain bathroom tiles.
This material is incredibly adaptable, ranging from matte-finished Scandi-style porcelain bathroom floor tiles to monochromatic mosaic tiles for your bathroom wall.
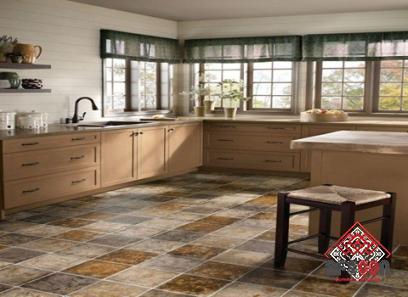
Quarry tiles are perfect for bathrooms since they are non-porous, anti-slip, and incredibly sturdy. Quarry bathroom tiles, made of pulverized feldspar, clay, shale, and other minerals, are fired at high temperatures to create a durable tiling solution.
These tiles are perfect for creating a rustic-style bathroom that is filled with vintage charm and character because they come in a variety of warm, earthy color selections and varied sizes.
Non-slip: If the practical qualities of your flooring are what you care about most, non-slip bathroom tiles prioritize security. To match every bathroom design concept, you may find a safe and elegant tiling option, from unique matt technical porcelain tiles to anti-slip ceramic tiles.
Wood: With our strong, enduring, and fashionable wood-effect bathroom tiles that look just as wonderful as the real thing, you can bring the beauty of wood into your bathroom without having to worry about warping or maintenance.
Use weathered wood treatments, like those on our Blendart tiles, to create lovely rustic interiors, or stick to tradition with dark, slick designs.
Bathroom wall and floor tile issues from a practical standpoint
Finding the ideal bathroom tile requires more than just settling on a style and color that you like. In order to ensure that the walls and flooring of your bathroom are properly protected for many years, there are additional practical considerations you should make.
Water will always be your main worry when designing a bathroom, especially when it comes to the flooring.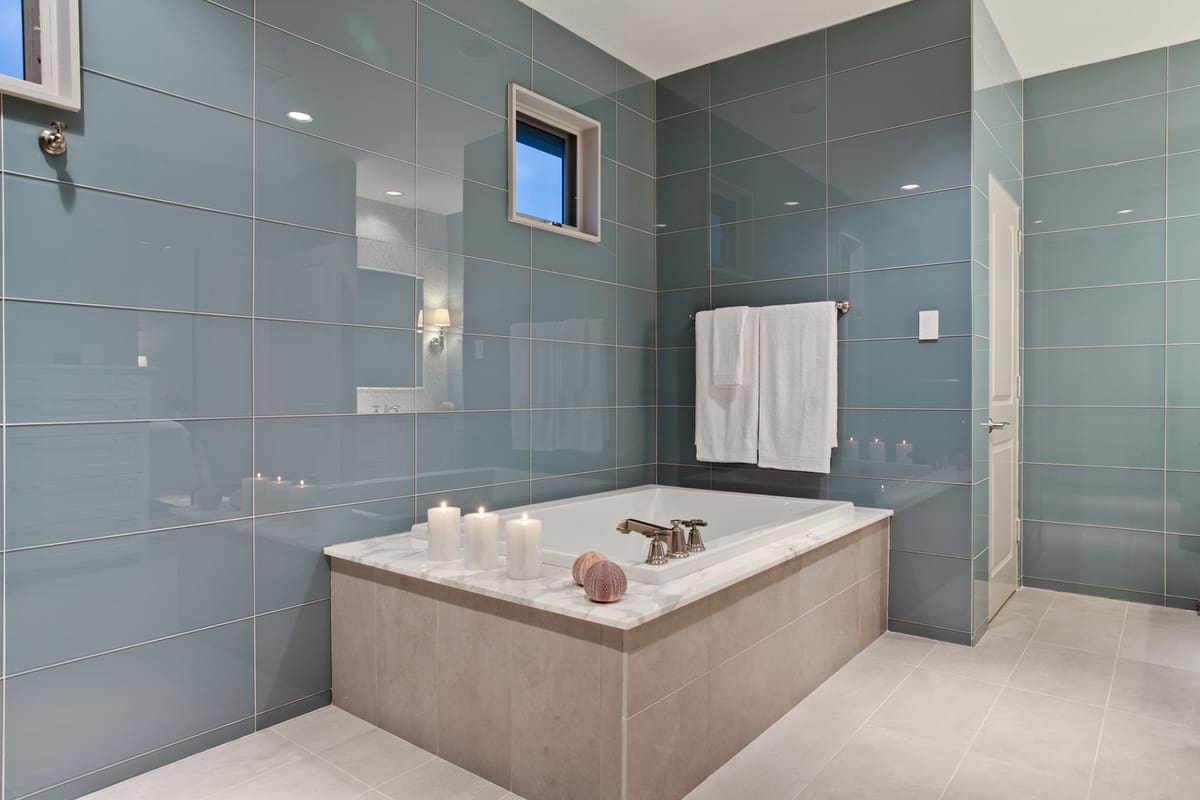
Due to their water-resistance, tiles undoubtedly provide the best option for waterproofing your bathroom floors. But it’s not just a matter of slamming your tiles down; even a tiny break can result in substantial water damage if ignored.
For this reason, we’ve provided a list of some useful specifications needed to guarantee that the walls and floors of your bathroom are built to last:
Never “guestimate” the size of the space or assume it has a regular shape because these assumptions are rarely true with bathroom walls or floors. To determine the biggest distances in the space and how many tiles you’ll need to cover it, take a few measurements from various spots in the room.
Take the tallest and widest measures you can when measuring a wall area, and don’t forget to add more for any other spaces such alcoves.
Tips for surface preparation: Before tiling, it’s important to prepare your walls and floors. The degree of preparation required may vary depending on the surface you’ll be tiling.
If you’re tiling over old tiles, for instance, score them or use a primer for better adhesion, and make sure the tiles aren’t fractured or coming away (this could indicate underlying problems).
Fix flexi boards if you’re tiling over wooden floorboards to keep the tiles and grout from cracking when the floor moves. You can tile directly over screed, concrete floors, or plastered walls, but you should fill in any big cracks and other flaws and apply a primer to ensure the adhesive firmly adheres.
Consider the weight of the tiles; they are not a light material. Even a modest bathroom floor can exert strain on the substrate (surface) and floor joists in upper-level situations when you include in the weight of the underlay boards and glue.
With this in mind, check to see if the floor joists and surface are sturdy enough to support the added weight.
Get a level so you can ensure that your surface is absolutely flat and level. Accuracy is essential for the proper installation of bathroom wall and floor tiles.
This may require adding a self-leveling screed, sanding down, or filling in bumps and cracks, among other things, but the work you invest in up front will speed up the tile-laying process.
Additionally, it will ensure that they remain in place. To keep lines straight and assure consistent cuts on floors and walls, you must first determine your real center. Always use a spirit level when doing this.
Calculate the height of the finished floor because all the layers mentioned above quickly add up, especially if you need to raise some parts of a floor to achieve a totally level surface.
Because of this, determine the finished floor height before you begin and determine whether you need to elevate the level of any fixed fixtures like sink vanities and entrances that are already present.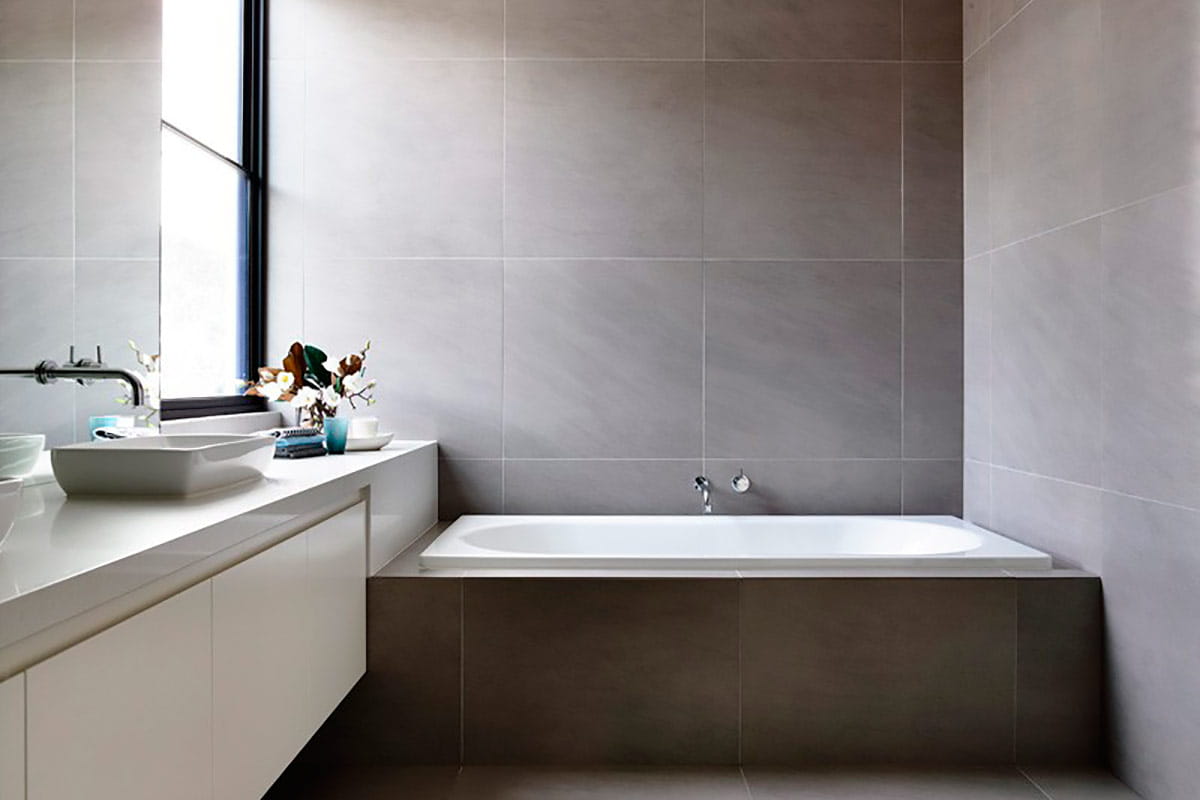
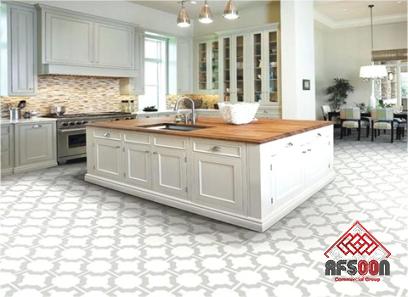
Bathroom Large Tiles Design
The design possibilities for a bathroom that mixes style and utility are essentially unlimited. Large tiles are a fine choice.
You can get all the components for your ideal bathroom right here, from useful, non-slip flooring to tiling alternatives in a wide range of lovely, calming colours. But if you’d want some assistance locating bathroom tiles that are both practical and fashionable, we have a few suggestions to get you started.
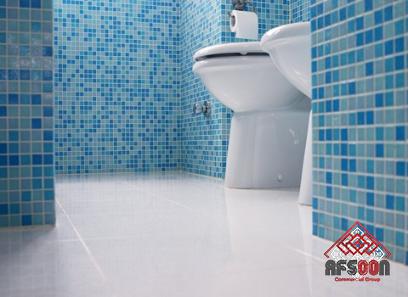
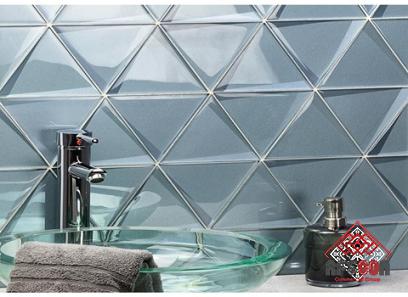
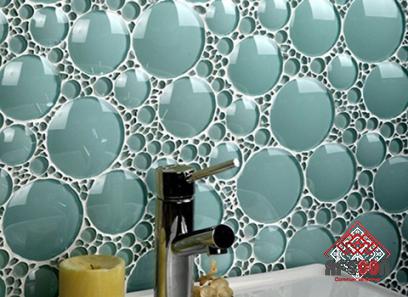
It makes sense that cool pastel tints and colors like cyan are so popular in the field of bathroom decor since bluish tones have been shown to produce a sense of peace.
Choose a variety of delicate blue bathroom tiles in cool, peaceful tones to evoke the sounds and aromas of the ocean. To finish the design, add some seashells as evocative accessories.
Zen zone: You can create your own personal zen zone in the middle of your home to boost the level of relaxation. Bathe your bathroom with finely colored tiles and some deliciously fragrant candles.
Pale, serene colors are sure to help you instill a sense of tranquility; if you’re searching for something really cozy, we suggest looking into the natural beauty of travertine tiles.
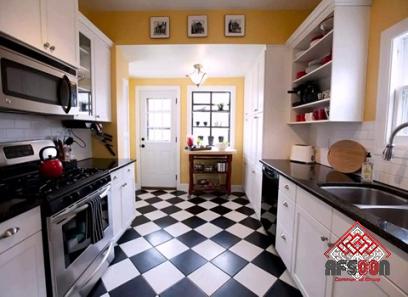
Need a no-frills appearance that will last? Go ultra-minimalist. Less is more in this situation. When it comes to producing a dramatic, minimalist style, grey bathroom tiles are elegant, modern, and effective, while the severity of a black and white color scheme is sure to make an impression right away.
Whatever shade you decide on, stick with it and furnish your bathroom with minimal, geometric furniture and accessories to accentuate the eye-catching wall tiles.
Vintage enthusiasts with a modern edge will enjoy playing with the shabby chic style. Finishing off the space with some rough, genuine wood-effect tiles will enable you to create a bathroom that is full of character if your bath, shower, and sink are unmistakably retro.
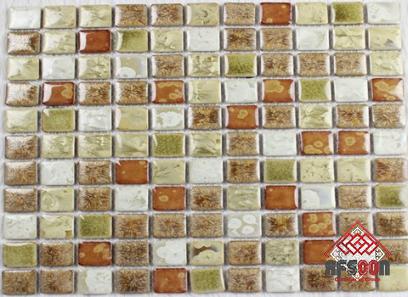
If you’re looking for something industrial, there are a ton of gorgeous alternatives available, from organic, subdued hues to deep, faded browns. As an alternative, add some gorgeous crackle glaze metro tiles to your walls to enhance the retro feel. These tiles will give the space an antique, aged look.
Bathrooms are the ideal setting to showcase the elegance and practicality of industrial interior design. Use old beveled metro wall tiles in white with dark grey grout, lots of exposed pipework, and accents made of black metal that are softened with carefully chosen wooden furniture and bathroom linens to achieve the desired look.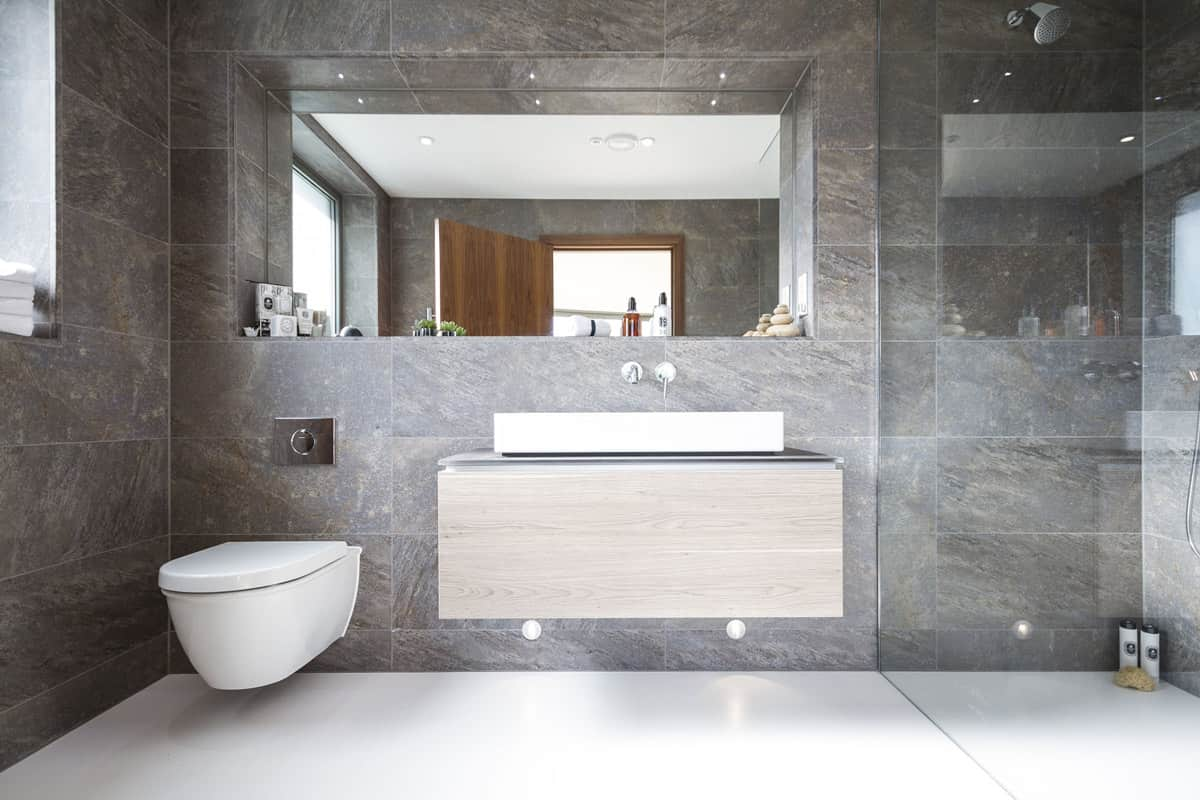
Installation of Bathroom Tiles
Your dream bathroom is only a few easy steps away once you’ve decided on the design, color, and size of your bathroom tiles. Here are some simple installation pointers to get you started.
Measure the area: Before starting to install your bathroom tiles, you’ll need to determine the square footage of the room. When ordering supplies, add at least 10% more to the measurement to account for error.
Prepare the area: Whether you’re tiling the floors or the walls (see above), the extent of preparation will vary, but for both, you’ll need a clean, level surface to lay your tiles on.
In order to prevent moisture and dampness from causing damage to the walls behind, it may be advisable (especially in wetrooms) to peel back the walls and lay aquaboard before tiling directly over the existing surface for walls, whether it be wood, tiles, or plasterboard.
Floors can be tiled over existing wood or concrete, but if the surface is uneven, a self-leveling screed should be used to achieve a level finish. This will make it simpler to place your tiles and ensure a flat, expert finish.
Plan your design: After the right cement screed or aquaboards have been installed to prepare the surface, lay your tiles in a dummy installation to decide where they should be cut. Additionally, it will allow you to experiment with your pattern before committing to laying the tiles down.
Laying your tiles means starting to apply them to the surface once your tile plan is complete. It’s important to remember that while installing floor tiles, you must start in the middle and work your way to each corner, tiling the area closest to the door last.
To ensure straight, even rows on walls, tiles will be set starting with the bottom row and working their way up.
Working from either the middle for floors or the bottom row for walls, apply a thin coating of glue to the area using a notched trowel, and then gently push the tile into place.
Lay your bathroom tiles with spacers between each one to guarantee even spacing (keep in mind that the placement is now permanent!).
The final step in any tiling project is to put tile grout between the tiles to completely seal them against moisture and dirt and increase the lifespan of your interior renovations.
After at least 24 hours have passed, start by removing the spacers, then use a grout float to apply the grout to fill in the lines. Although the majority of contemporary grouts have anti-mold and moisture capabilities, you can give your bathroom tiles even more protection by using sealant to achieve the highest level of water resistance.
Contact us right now if you need to buy tiles with any type and quality. Surely, we could experience a long-term and reliable business relationship.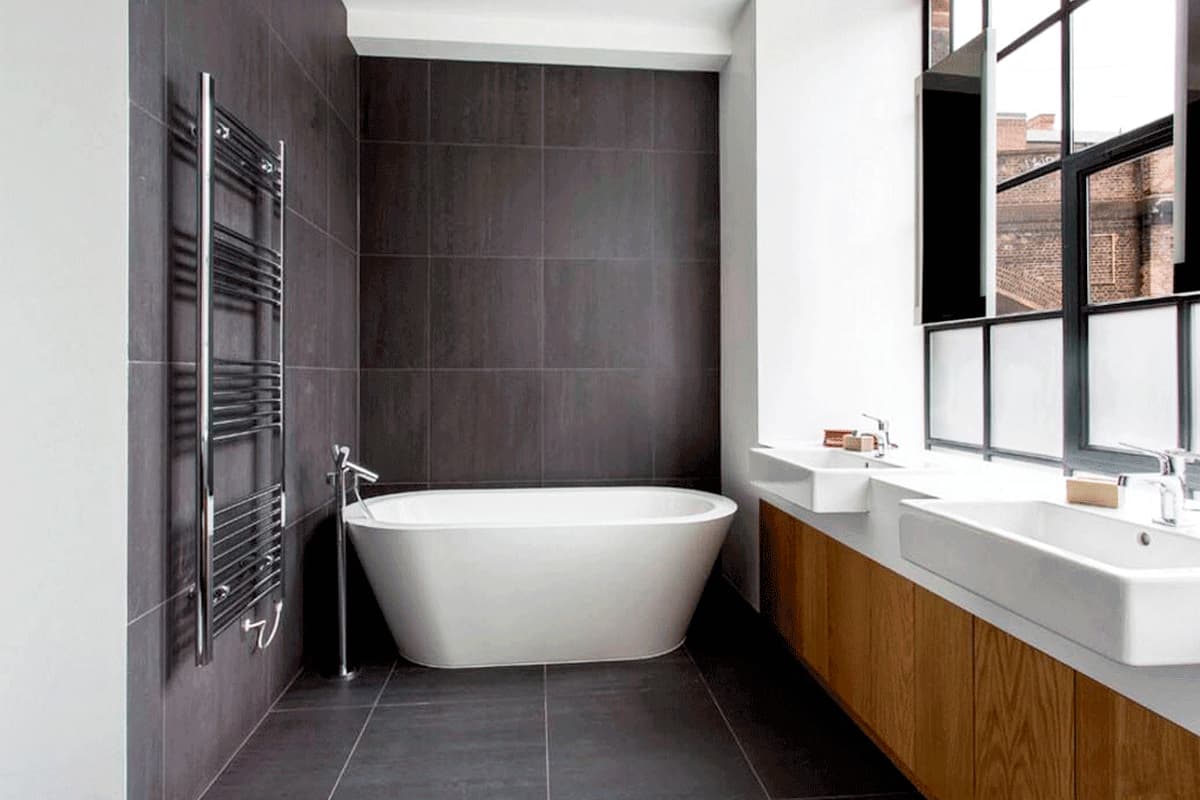

Your comment submitted.