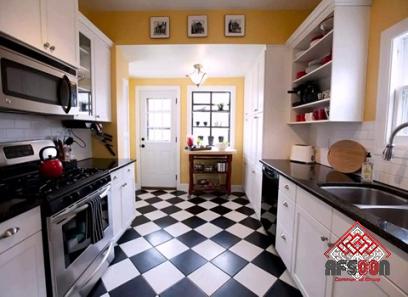
installing tile over tile
installing tile over different surfaces such as wood, concrete, and tile needs to follow some instructions
If you are installing tile on another surface, be sure to follow the specific recommendations and steps to ensure proper adhesion
Tiles should be installed over wood, tile, concrete, or vinyl using an appropriate product that will provide good adhesion between the surfaces
Always make sure existing surfaces are clean and level
installation on concrete
Installing tile over concrete requires repairing all cracks and voids in the concrete prior to the installation process
Cracks in the concrete will eventually lead to cracks in the tile because the concrete in the crack will not be able to support the tile
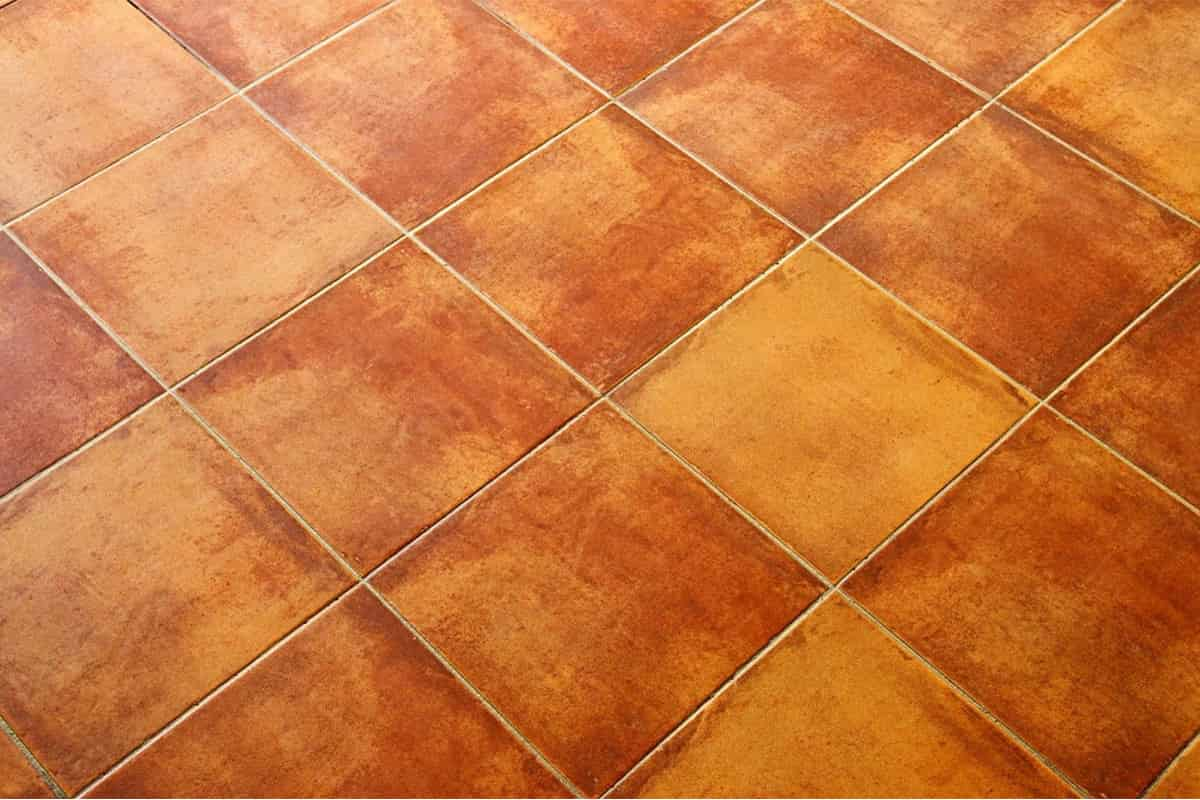
For cracks smaller than 1/8 inch, use crack suppressants
If you are installing over a larger crack, you should consider removing the concrete section and pouring a new concrete slab
If you are concerned about cracking, you may want to install an insulation system over the slab to separate/separate the tile from the slab
It is a membrane that separates the tiles from direct contact with the concrete, helping to provide support for any weak spots in the concrete due to shrinkage or expansion
It is also important to check that there are no chemicals on the surface of the concrete
Certain chemicals applied to concrete surfaces can reduce the tile’s ability to adhere to the surface
To check for the presence of this coating on a flat plate, put a few drops of water on its surface
If there are water droplets, it is likely coated
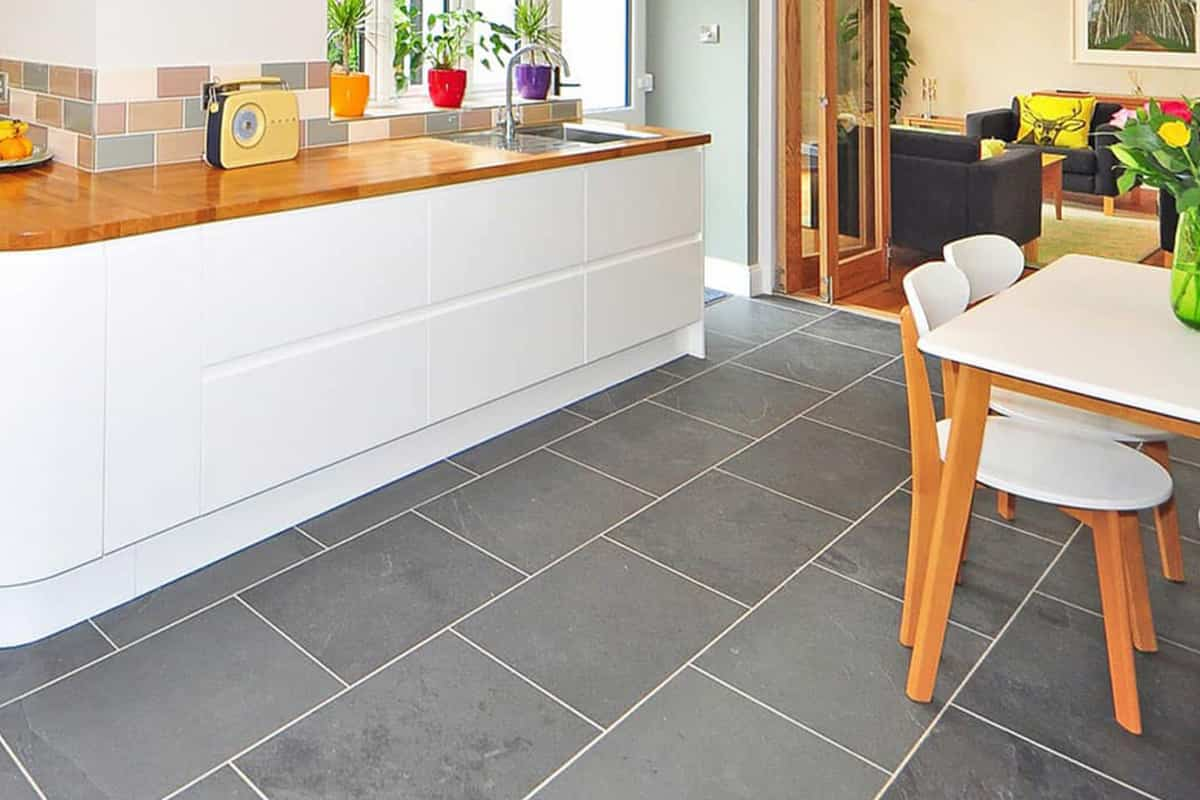
installation on wood
To install tile over wood, the structure of the wood surface must be strong enough to support the weight of the tiles
Particleboard, upholstered vinyl flooring, any type of particleboard, oriented strand board (OSB), interior-grade plywood, tongue-and-groove board, and hardwood flooring are not suitable for direct tile installation
Tiles are hard and can crack or fall if the surface bends under load, and many wooden surfaces expand or contract, which negatively affects their ability to stay level and support the weight
If you need to install on such a surface, it is better to install the backing plate on the old surface and install the tiles on the backing plate
If installing over a suitable wood surface, sand the wood smoother, and remember best to install over a subfloor at least 1-1/8 inches thick
If tiling is being installed in a bathroom, consider using a barrier film on wood floors to further prevent expansion and contraction

installation over existing tiles
Before installing tiles over existing tiles, you will need to roughen the surface of the existing tiles to give the new tile a better bond
80 grit sandpaper is recommended for sanding floors
Once the tile has been sanded, clean and removes all grit and dust, then use a floor leveler to fill the grout lines and completely level the surface for a new tile application
Install tiles over existing tiles using thin products
It is a mixture of cement, fine sand, and water that bonds the new tiles to the old ones
For mortar, latex or epoxy options are best for installing tile over tile
Also, consider that doors, cabinets, and other hardware may need to be reworked or replaced with new ones to compensate for higher floors
installation over existing vinyl
Installing tile over vinyl or linoleum surfaces can be more complicated than expected and should probably be avoided if possible
However, if you are unable to remove the old surface or decide to otherwise install it, place a thin liner over the old surface as a new subfloor material

It is important to use the thin profile recommended by the back sheet manufacturer, to ensure that any loose adhesive is removed from the surface and to check that good adhesion to the substrate can be achieved
To reduce adhesive residue, verify that the manufacturer’s low-profile mortar is compatible
It is not uncommon for subfloors to develop low spots or other defects over time, but it is important to address these issues and ensure the subfloor is level before installing a new floor
Low spots can be filled with a floor finishing mixture and then sanded down after hardening
When laying tiles, measure away from walls and other boundary areas where you can install full square tiles
Once you’ve let it set and can walk on it, measure your space along the walls and other border areas, subtract grout lines, and mark where tiles need to be cut to fill those odd spaces
Try to avoid debris: slice along the perimeter of the gap
Plan the layout so that you can have as wide a piece as possible along the perimeter, minimizing the number of tiles to be cut

