Learn how to lay ceramic tiles for wall and floor with a method which is up-to-date; for installation you need just a little bit of planning ahead of time to save you a lot of time and energy later on. You want the impression of symmetry to be created by the tile installation, even though the finished surface won’t actually be symmetrical.
In order to accomplish this, you will need to measure inward from the surface’s edges in order to locate its center. This is of the utmost importance in confined areas, as putting wide tiles on one edge of the project and thin ones on the other would give the impression that the project is not balanced.
Matching Up
It’s not uncommon to find that the floor plan isn’t square, particularly in older homes that date back to a particular era. As a consequence of this, the undertaking will be somewhat more difficult. Utilizing the wall that is most obvious to the eye as a baseline is typically the most effective method.
When others enter the room, they will see that the tile lines are parallel to that wall, and they will commend you on the excellent work that you have done. If someone’s first impression of the work is that the lines aren’t aligned, the job could not look like it was done correctly even if it was.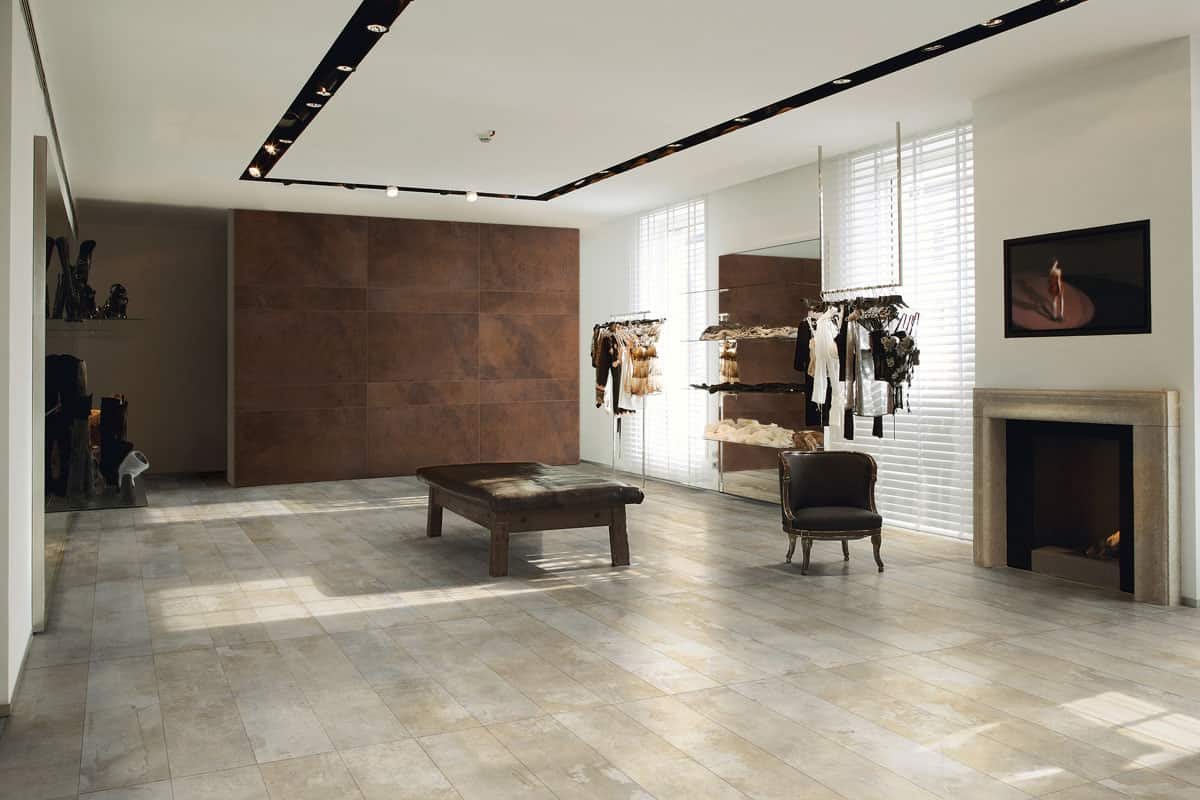
Taking Stock of the Work
After determining the center and baseline from which you will work, draw two parallel chalk lines to connect the two points. By doing so, you will divide the area into four quadrants that are almost equal in size. You need to go outward from the center of each of the four sections, beginning at the center of each one.
When you are tiling a wall, you should first focus on building a top line that is level before you bother about a center point. When marking the top line, use a level because there are very few walls or floors that are completely level.
Choose a height that won’t force you to cut extremely thin tiles (or extremely tiny shards from almost whole tiles) so that they can come flush with the floor.
You should draw a top line and a center line on your walls in the same way that you would do for the floor. In addition, before to beginning the tiling process, you should carefully plan out all of the walls that you wish to tile.
Altering the Course of Events
After finding the center of the area and squaring it off, the next and last stage in the process is to place rows of tiles within each quadrant of the grid.
Before you combine the adhesive or mortar, you need to complete this step while it is dry. Follow the rows until you reach each wall. This phase, which is the very last one, ought to flag any potential issues for your attention.
Apply the same strategy to the walls as you did before, this time counting off distances both horizontally and vertically. It’s possible that you’ll run into trouble if, for example, you make a mathematical mistake that results in your center line not being where it should be at all.
This is an issue that can be easily resolved during the layout stage, but if left unchecked, it could result in significant complications later on.
It’s possible that the tiles you installed flat against the wall (or floor) will be too narrow to be trimmed after they’ve been put in place. Ceramic tiles, for instance, can be difficult to cut to widths of less than around three quarters of an inch; this is something that should be avoided at all costs because it can be tricky to do so.
You have the option to go back and cheat the entire grid by moving it approximately an inch in one of two directions, even though doing so would result in the destruction of your perfectly balanced symmetry. Only you will be aware.
You may also choose to construct a jury stick in addition to a narrative pole if you so desire. If you mark the width of a particular sequence of tiles on a straight piece of plain wood stock, you can easily discover potential issues without having to lay full swathes of tile in place.
This is because you will be able to compare the width of the tiles. Remember to additionally point out the grout joints in your drawing. When it comes to the actual tiling of the surface, begin at the border of one of the quadrants and work your way inward, one row or course at a time, to the top or bottom. As you go, add.
A project using tiles will only be effective if it is meticulously prepared and approached in a methodical manner. Check each step twice, measure the distance using a tape measure at least three times, and then step off the ladder to get a fourth reading.
deleting tile
A little determination, a lot of practice, some skill, and a steady hand are all you need to become a tile cutter. The following is the procedure to follow:
A measurement is taken and the tile is noted. Make a mark with a felt-tip pen indicating the required tile cutting dimension on the glazed side of the tile using the tile as a guide.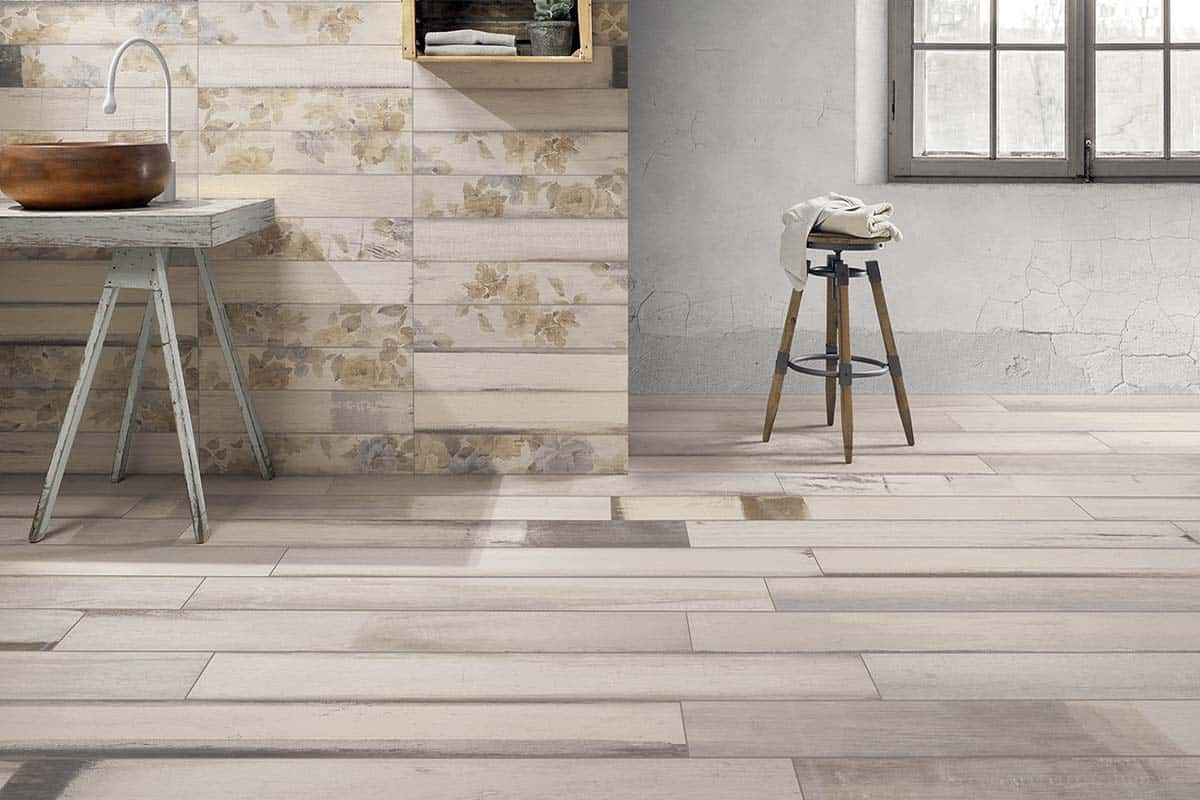
Placing the tile on the tile cutter in such a way that the axis along which it will be cut is in line with the center line of the cutter is essential. The top of the tile should be held level against the fence that is located at the top of the cutter so th
Scoring on the surface In order to cut through the glaze, move the cutter across the surface of the tile while giving firm and even pressure to the lever to which the cutting wheel is mounted. Only one pass should be made with the cutter.
Remove the tile from the wall. Tiles can be cut with a snap cutter in a variety of different ways. On some levers, the cutting wheel is located at the toe of the lever, while on others, it is located at the heel of the lever.
Regardless of the design of the cutter, you should always use the surface to apply pressure on the score line. When paired with a bead that is included into the base of the cutter, the pressure will cause the tile to split down the middle so that it may be removed.
Advice on Laying Tiles
Adhesives. Whether you are installing tile in the bathroom, the kitchen, or the entryway, there is a good possibility that it will be in an area where there will be a lot of moisture.
Please choose an adhesive that is water resistant. You can use a mortar or a pre-mixed glue, but if you choose to use a mortar, make sure it is of the thin-set variety. If you choose to use an adhesive, make sure it is of the pre-mixed variety.
It is not necessary to use more mortar in order to get a watertight finish; nevertheless, using thick-bed mortars does
demand a certain level of skill and competence in order to make the tiles lie on a level surface.
Grouting. Grout is typically purchased in powder form and then mixed with water or one of the recommended additives after it has been applied. Read the instructions on the packaging or ask a sales associate at a tile store for advice if you want to make sure the mixture is correct.
Painting the grout with a dye or pigment is a method that is both quick and simple to use, and it can be used to make your color scheme look better. If you have tiled a floor, adding a color to the grout can be very crucial since white grout can be difficult to keep looking clean and white, even after it has been treated with grout sealer.
Adding color can be especially significant because of this (which is to be suggested, especially for floors).
Deleting leftovers: Before the surface of the tile dries, thoroughly remove any excess substance from the tile by sponging it off. This procedure will have to be carried out an indeterminate number of times over the course of at least an hour.
It is an indispensable component to have when working with tiles that have a surface that is either porous or patterned. When dried, grout can be extremely difficult, if not impossible, to remove from the indentations.
There is a professional exporting team behind this website which is ready to cooperate with wholesalers and traders around the world.


Your comment submitted.