Installing tile made of porcelain or ceramic requires a great many technical considerations lots of parameters must be figured in. Almost everyone can install ceramic tile but if you want to have a result that is appealing to the eye you must learn special techniques. Put ceramic tiles over the old carpet to preserve the flooring and give the room a more modern look. In order to secure the tile to the subfloor, you can either use grout or mortar. Before applying tile glue, check the area with a moisture meter to make sure it does not have any moisture in it. Also, check to see if there is sufficient lighting and ventilation in the space. The first step in the installation process involves taking measurements of the room’s width and length before using chalk to outline its perimeter.
- The Installation Procedure for Ceramic Tile
When installing the ceramic tiles, there is a specific height requirement that must be met above the ground. In order to direct water away from the edge of the patio, the row of tiles at the bottom of the patio should probably have a tiny slope in it. When it comes to the actual installation, a masonry saw, as opposed to a conventional handsaw, is the more appropriate tool to employ. It takes a special type of saw called a masonry saw to cut through hard materials like stone and concrete; these saws should have diamond teeth and a strong metal blade. When cutting concrete, it is imperative that you wear protective eyewear at all times. If you are going to be cutting stone with a masonary saw, you need to clean the area well before you start.
- Tools Needed
The following equipment is required in order to successfully install ceramic tiles:
- – Masons’ square
- – The string line used by Mason (optional)
- – Tape measure
- – Pencil & ruler
- – Level (optional)
- – Shears/Cutters
- – Hammer/Nail gun (optional)
- – Sandpaper
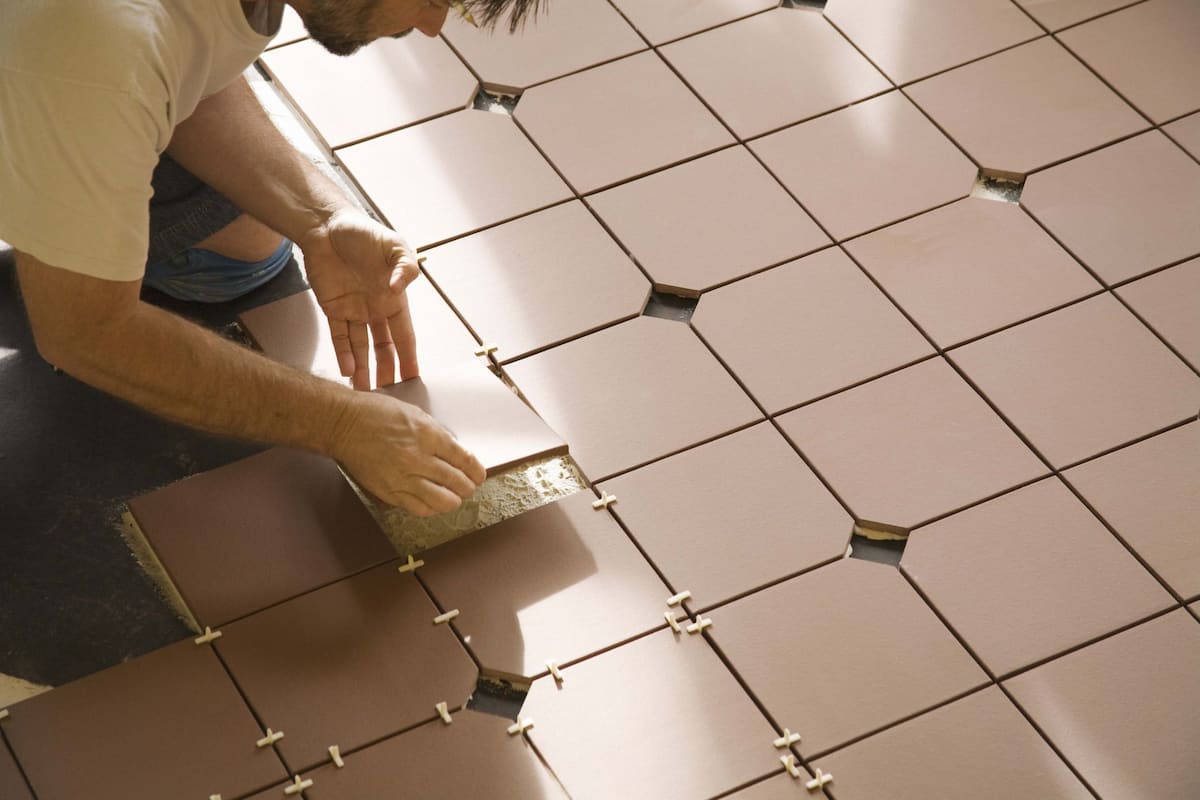
After that, you will need to lay out where you want each piece of tile placed, mark the outline, and then cut the tile to perfectly match where it is going to be placed. Position each piece of tile precisely where you have indicated it should go using your markings. After you have accomplished that, begin laying the tiles one by one until you reach the final row of tiles. Find the exact middle point between those tiles by measuring their length and locating the middle point between them. Make a mark at that place on the floor, and then employ your tape measure to locate the precise location of the floor’s middle, after which you can draw a line vertically.
To leave a gap at the top of the tile, increase that measurement by a half inch; then, repeat the process for the bottom of the tile, this time leaving the gap at that height. The next step is to lay down your first tile, taking care to ensure that there is sufficient room for the remainder of the tiles. Proceed with the rest of the rows in the same manner. Utilize cement mortar and grout for the purpose of securing the tiles into place.
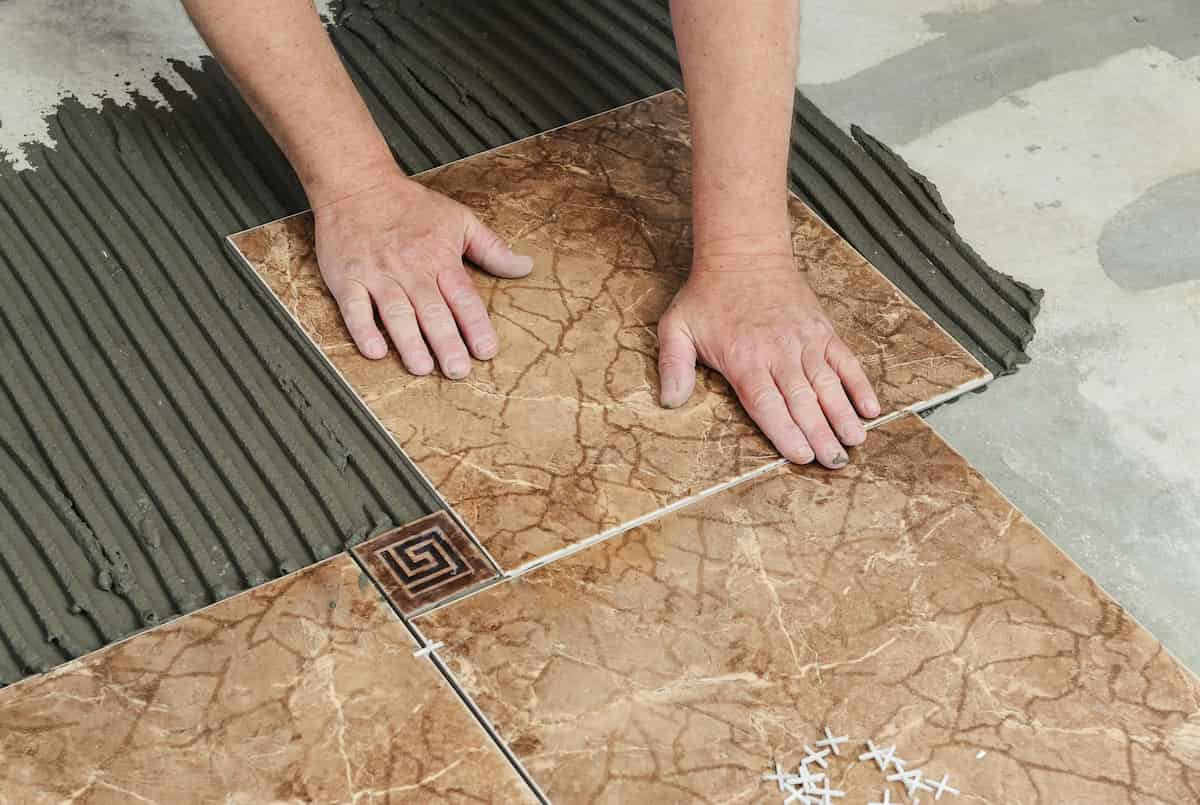
- Instructions for Making Cement Mortar
- Making the surface ready for use
To begin, you will need to remove any dirt or debris that may be on the floor. You want there to be as good a probability of adhesion in the room as there possibly can be. To remove any loose material, all you need is a scrub brush, some water, and some elbow grease. Additionally, check to see that the ground is free of any oil or grease. If there is, remove it with some paper towel if it does exist.
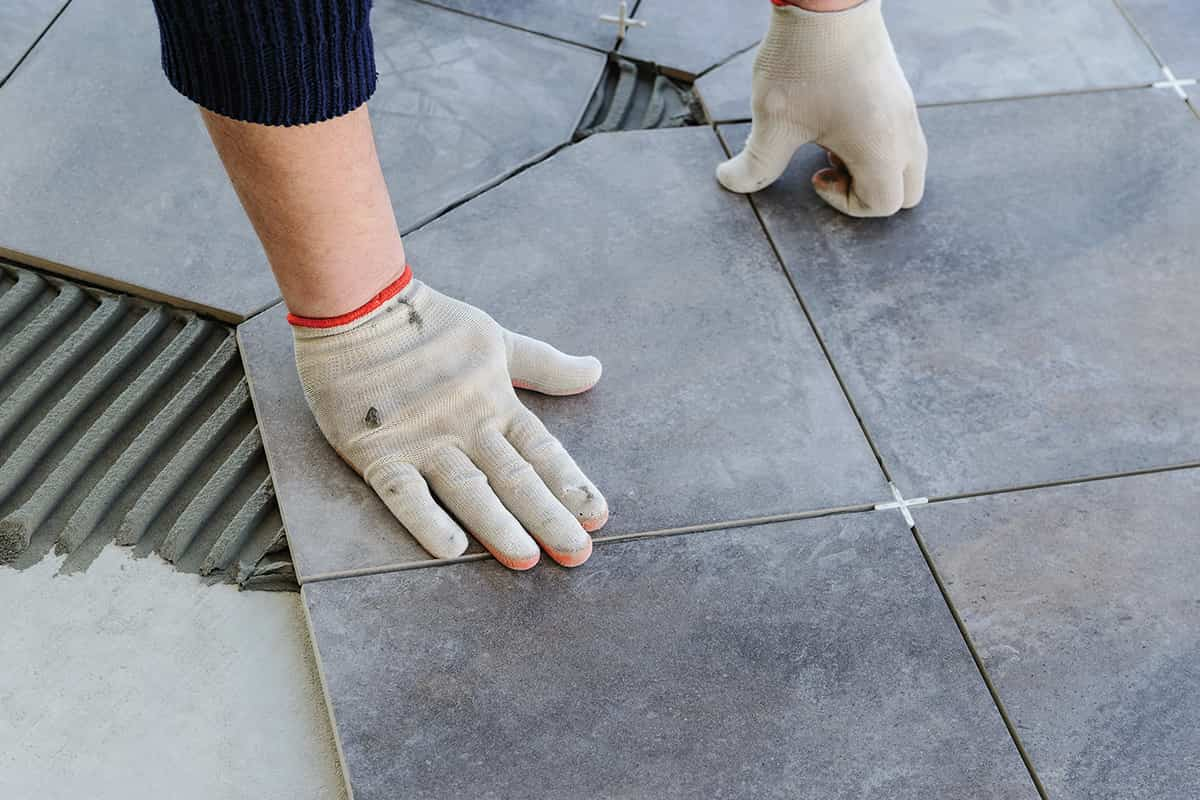
- Grout
The tiles are held together using a sort of cement known as grouting, which is distributed across the surface of the tiles. Use a sponge that has been dampened in water to apply the grout evenly so that you can avoid it becoming soiled. After you have applied the grout, you will need to wait around five minutes before beginning the installation of the first tile.


Your comment submitted.