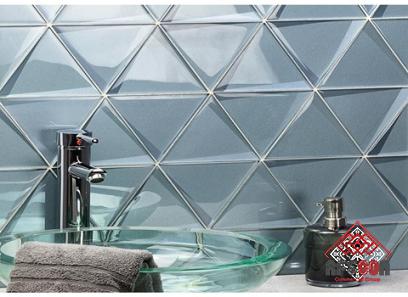
The modern types of tiles for installation on the wall is one the best way of tiling and doesn’t cost too much. When our cutting-edge magnetic porcelain tiles are utilized, there is no requirement for the use of grout, mortar glue, or a decoupling membrane.
Installations and the subsequent curing operations do not require several days as they once did. Because a tile is considered to be installed the moment it is placed on the floor, there is no longer a need for repairs that are time-consuming and difficult to do. The tiling process is extremely streamlined, speedy, and aesthetically pleasing.
The pressure-sensitive adhesive-backed rubberized steel membrane is manufactured in the United States, while the tiles themselves are constructed of porcelain from Italy and magnets from the United States. Canada is where we carry out the manufacturing of the magnetic system.
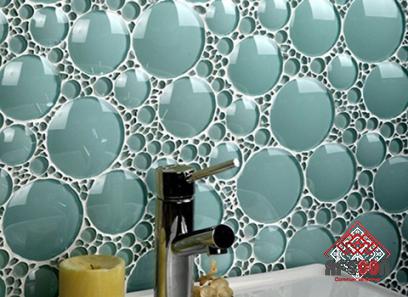
This technology, although having been developed with business applications in mind, has the potential to also be utilized successfully in the household. Retailers find success with it as a result of the ease with which new installations and maintenance can be carried out quickly.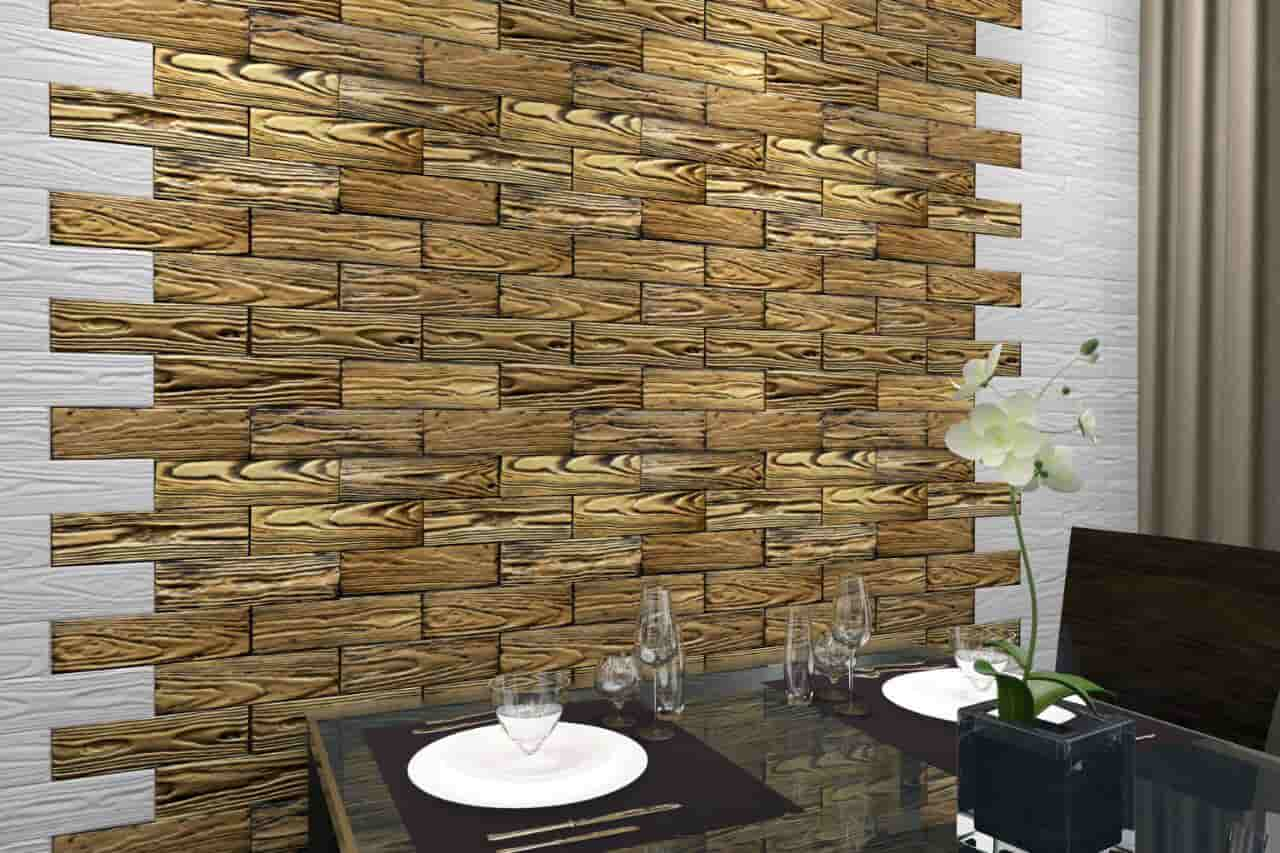
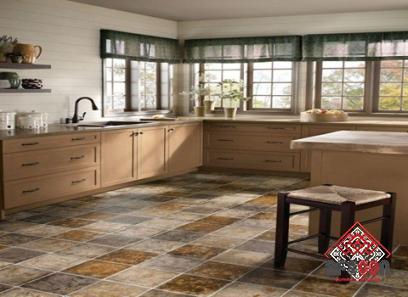
Because of its adaptability, it is ideally suited for use in areas that regularly require aesthetic enhancements. Tiles used in public locations could be able to withstand heavy foot activity. In addition to this, it has a one-of-a-kind design because the porcelain that was used to resemble wood may be fitted without the need for any grout to be left behind.
The concept of environmental responsibility was fundamental to the operation of our company. Magnets are something that we make use of, and around 75% of them are manufactured from recyclable materials.
Because we eliminated the mortar and grout, as well as employed a far lower total volume of water, the previous concern of silica exposure has been eliminated. Because tiles may be replaced singly, there is a significant reduction in the amount of trash produced.
Because porcelain has a very long usable life and is constructed entirely of natural materials, it requires fewer repairs over the course of its life when it is put to use. Porcelain has a very high resistance to wear and tear. The health of the environment as well as your mental state will improve as a result of this.
In addition, at least forty percent of the raw materials that are utilized in the production of tiles are recycled. Because they may be rearranged in different ways, a single set can be utilized in a variety of different ways to produce a wide variety of different appearances.
Surface preparation, laying out the tiles to be installed, using adhesive, installing the tiles, and then grouting is the four procedures involved in installing wall tiles.
Surface preparation and the selection of an adhesive are the only aspects that differ from one work to the next; other than that, everything remains the same regardless of where the tiles are installed.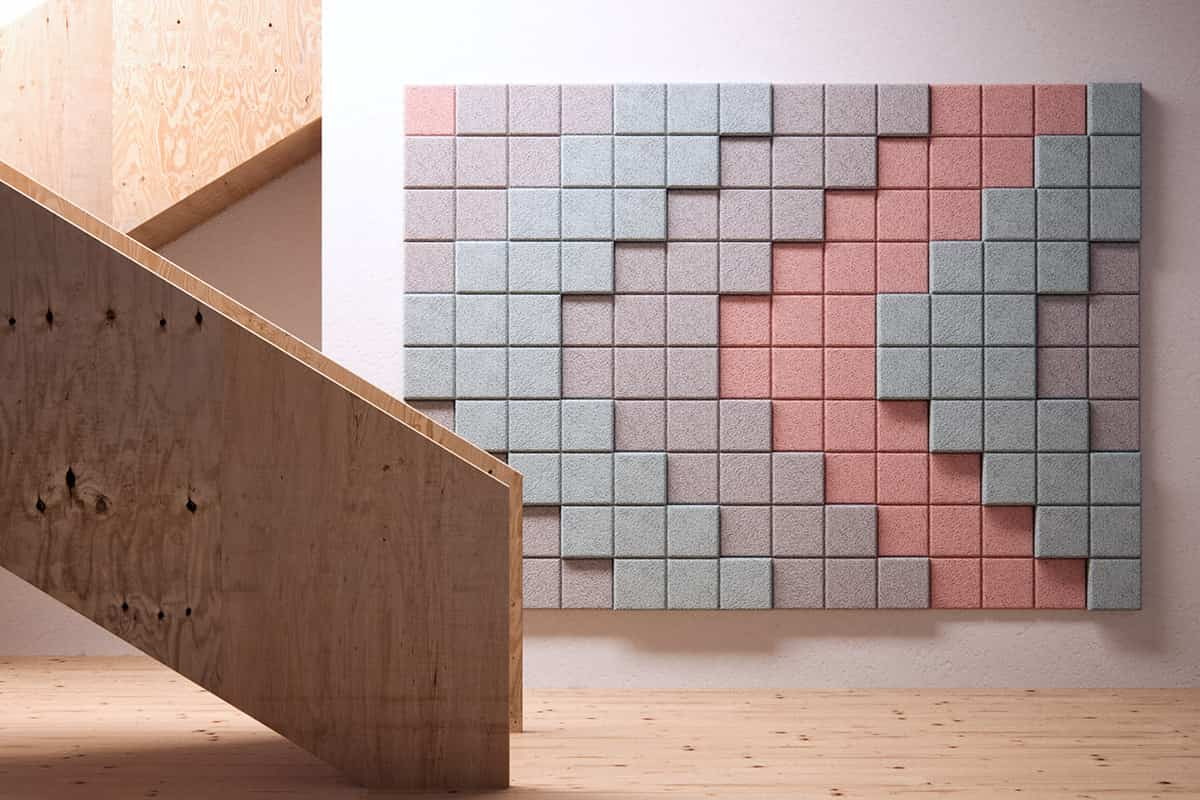
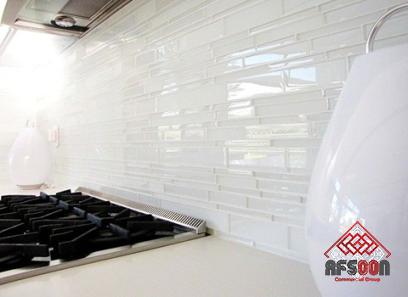
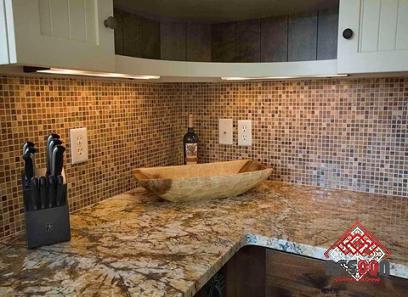
The vast majority of contractors are competent to lay tile for applications such as backsplashes; however, a tile contractor is necessary for jobs that are more difficult, such as installing tile on shower walls or steam rooms.
Cleaning of the surfaces
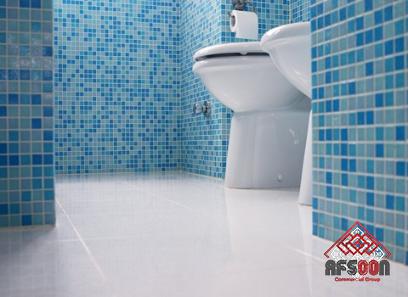
While drywall and plaster are not ideal substrates for wall tiling, the use of cement backer board or cement board is strongly recommended for use in moist or damp environments. Cement board does not deteriorate in the same way as plaster and drywall do when exposed to moisture because it does not have a watertight seal.
As a result, water and water vapor can pass through it, but the cement board does not rot in the same way. Before you begin, check that the area is level, that it is dry, and that it is free of dust and other debris. It is recommended that the painted wall be sanded before installation.
Design Generation
The first step in the process of tiling a wall is to determine where the geographic center of the wall is located. Following that, you should be able to make use of a level to create lines that intersect in both the vertical and horizontal planes.
To determine how well the tiles suit the space, you can experiment by arranging a whole horizontal row and a complete vertical column along the lines. If the lines of the layout need to be adjusted, you may do it easily. Take into consideration the grout joints when testing the scheme.
How to select and utilize different adhesives
Utilizing pre-mixed mastic adhesive, wall tile may be installed in dry conditions. Cement-based thin-set glue may be used to bond cement board, and just like cement board, it is unaffected by the moisture that can be found in locations such as showers.
When preparing the glue, be sure to follow the instructions provided by the manufacturer. When applying glue to a wall, use a notched trowel and tilt it at an angle of around 45 degrees as you work. This will ensure that the adhesive furrows are of the same height. It is not recommended to use glue to cover the layout lines.
A wall being covered with tiles being installed
When you have finished placing the tiles in the first row and column according to the arrangement lines, press down hard on the tiles and twist them ever-so-slightly to help embed them in the glue.
It is not recommended that you slide the tiles into place. In areas where it is required to do so, tile spacers can be used to set up the uniform spacing between the grout joists.
The majority of wall tiles have built-in lugs that keep the grout lines between them looking neat and tidy. Place the remaining tiles in a row and column in a manner that is analogous to how the initial row and column were laid up.
When tiling the surround of a tub or shower, it is necessary to use caulk to cover any gaps larger than 1/8 of an inch. When tiling an entire wall, including the floor and the countertop, you may tile it using the same manner.
Caulk will be used to fill the space, which will make it possible for the floor to curve. By grouting this area, it will become more brittle and more likely to shatter.
Dismantling tiles
Typically, while installing tiles on a wall, you may need to chop certain tiles down to size. Manual tile cutters and tile wet saws are the two instruments that perform the best when it comes to creating clean, accurate cuts in tiles. Tile nippers are the instruments that you need to use to cut curved tiles.
Nippers create jagged edges, which may be rounded off with sandpaper with an 80-grit grit rating. You have the option of using a drill or a hole saw that is made specifically for cutting tile if you want to cleanly bore through the middle of a tile.
Tile joint compound
Once the tile glue has completely hardened, you may next begin the process of grouting the tiles. Sanded grout should be used for joints that are wider than 1/8 inch, while unsanded grout should be used for joints that are no wider than 1/8 inch.
Unsanded grout should be used for joints that are no wider than 1/8 inch. Remove the tile spacers in order to get ready for the grouting process.
When preparing the grout, it is important to follow the instructions provided by the manufacturer. Apply the grout and use a rubber grout float to press it firmly into the joints once it has been applied.
In order to get rid of any residual grout, make a second diagonal pass over the tiles while holding the float at an extremely sharp angle. To get the grout lines and tiles back to how they looked when they were first installed, all that is required is a grout sponge and some clean water.
After allowing the grout to cure completely, remove any trace of grout haze from the tile surfaces by wiping them down with a soft cloth. The next step is to use sealant made entirely of silicone to fill up any remaining holes or gaps in the tub, countertop, or floor.
The price of installing tile flooring in a room takes into account both the cost of labor and the cost of the necessary supplies. It’s possible that the final price may be heavily impacted by factors such as size, color, durability, and design.
Calculating the costs requires utilizing the square footage of the room in addition to an additional 20% to account for waste from broken and chopped tiles.
The entire cost of hiring a professional will include not only the cost of the expert’s time, but also the cost of the tools, adhesives, grout, sealer, tile spacers, and any other materials that are required.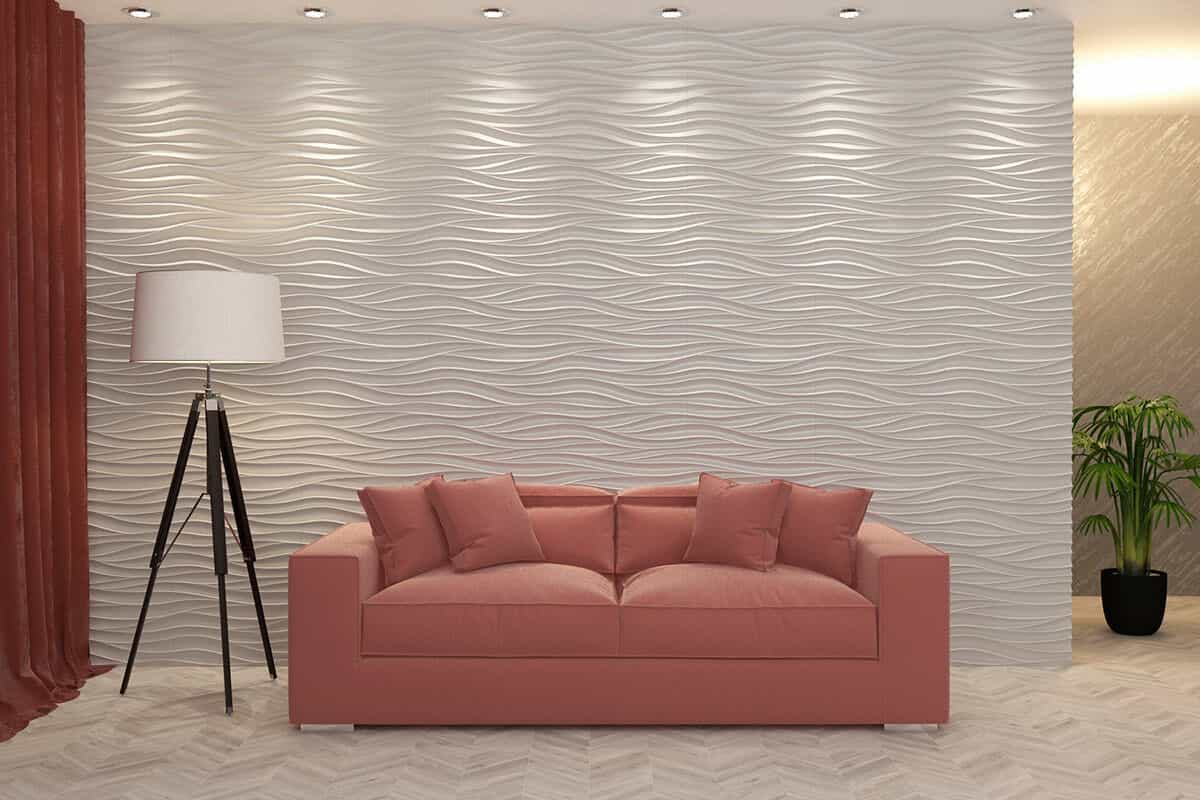


Your comment submitted.