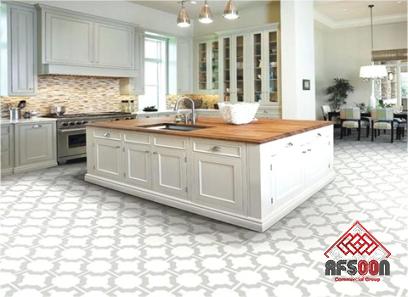
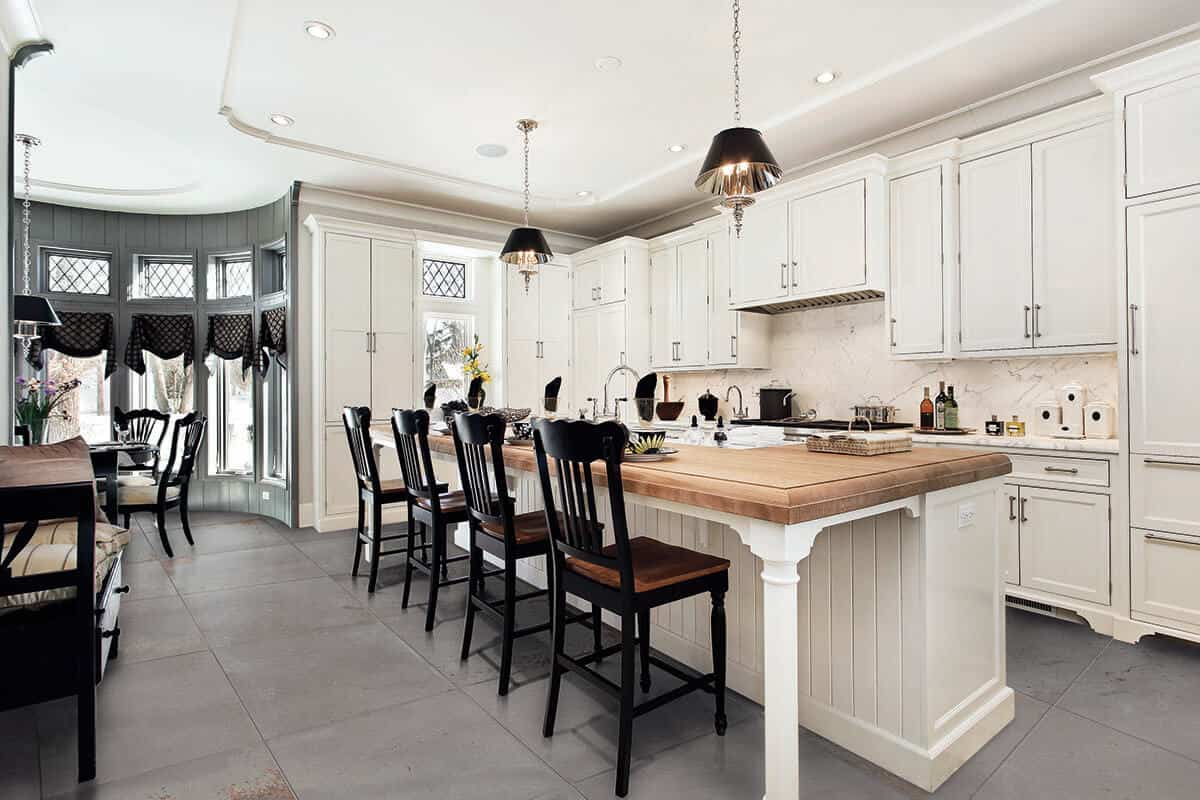
Kitchen island tile flooring
A kitchen island may serve as a convenient additional workspace for you to use in the middle of your kitchen
An island tile may be installed on any kind of flooring, but in order to keep it from moving about on a tile floor, cleats need to be securely fastened to the tiles
This will prevent any damage to the surface and keep the island from being dislodged
Step 1 Take a measurement around the inside circumference of the island cabinet or island base
Put a mark on the tile floor to indicate your dimensions
Step 2: Place cleats, which are narrow pieces of wood, on the inside of your measurements that you’ve drawn on the floor
Utilizing a wood drill bit, pre-drill holes through the cleats in the locations where the screws will be placed (place a screw at least every 8 to 10 inches)
Mark the spots on the tile where the wooden cleats make contact with it after placing them there
Make pre-drilled holes in the tile using a masonry bit in the locations that have been designated
In each of the holes in the tile, place a lag made of plastic
Place the cleats in position over the holes, and then fasten them in place using wood or drywall screws
Step 3: Squeeze a strip of construction glue down the outside edge of each cleat, and then position the base of the cabinet or island over the cleats
Step 4: If you are going to use a toe kick, attach it at the bottom of the cabinet along the flooring using a thin strip of glue and tiny finish nails every 6 to 8 inches
Tip
In order to get a feel for the spacing and establish whether or not you need to relocate or adjust the corners and angles of the island, you should draw a chalk line on the floor of the island location before you fasten the island to the floor
If an island is located near a plain wall, the appropriate distance between the cabinets and the island is between 36 and 42 inches
If the island is located near an appliance, the minimum distance should be 36 inches, and 42 inches is the ideal distance
If you don’t have enough room for an island, consider using another piece of furniture like a mobile utility cart or a single cabinet that you can top with a butcher block or a prefabricated countertop instead
It would not be necessary to fasten the moveable cart to the floor, and you would have the ease of readily moving it if that was something you wished to do
To avoid slipping and potential damage to the floor, the cart might be put on a rug equipped with non-slip grippers on the underside of the base
If your island is on the smaller side, you may want to consider securing it to the ground so that it does not move about or topple over
Taking into consideration the weight of the cabinet as well as the contents of the cabinet and drawers, a particularly big island might weigh as much as one thousand pounds or even more but does not necessarily need to be fastened to the floor
Installing a kitchen island in the middle of your space might provide you access to an ideal additional work area
It is possible to position an island on any kind of flooring; however, in order to prevent damage to the tile floor and movement of the island, cleats need to be securely fastened to the tile before the island can be positioned there
Islands are somewhat more difficult to install than other furniture since they need to be fastened to the ground alone
When it comes to installing the sides, you do not have the safety provided by wall studs
One way to achieve a sturdy installation is to install wood cleats on the floor and then screw your cabinets to the cleats
In the majority of installations, the floor is secured with wooden blocks that are designed to fit inside the base
Because the cabinet base slides down over the blocks, the island is unable to slide around when it is in use
Because it is physically impossible to screw through tile without first breaking it, a special diamond drill bit is required
If you’d rather not make holes in the tile, a movable island would be a good alternative
Follow These Steps To Attach Your Kitchen Island To Your Tile Floor Safely: It is possible that not all of the islands will need to be connected to the floor at some point
People leaning or pushing on smaller kitchen islands might cause them to slide or tilt, so it’s important to make sure those islands are securely attached to the floor
A typical kitchen island base cabinet has a hollow space that is four inches deep, and it is revealed when the cabinet is inverted
Determine The Size: Take a measurement around the perimeter of the interior of the island cabinet or island base
Create a mark on the tile floor using the measurements you were given
Cabinets for the island should be installed on the floor
On the tile floor, using painter’s tape, tracing the perimeter or contour of the foundation of the island’s base is recommended
Make Holes in the Cleats Position wooden strips, also known as cleats, on the floor within your dimensions
Next, drill holes in the cleats
Utilizing a wood drill bit, make pilot holes for the screws that will be going through the cleats
Put the wooden cleats down on the tile, and then draw a line across the intersection of the holes
Using a masonry bit, pre-drill holes in the tile in the locations that are specified
A plastic bag may be used to patch up any gaps in the tile
Install the cleats over the holes by using screws designed for wood or drywall
Utilize Construction Adhesive: Before positioning the base of the cabinet or island on the wooden cleats, put a strip of construction glue around the outer edge of the cleats
Before you fasten the island to the floor, draw a chalk line around its intended position on the floor to get a better feel of the available space and determine if the island’s edges and angles need to be moved or altered
If you don’t have enough room in your kitchen for an island, you may want to look into purchasing a mobile utility cart, a single cabinet with a butcher block, or a countertop that’s already been created
You wouldn’t have to fasten the moveable cart to the floor, and you’d have the option to transfer it anywhere you wanted to go with ease if you choose to do so
It is possible to prevent the cart from slipping and causing damage to the floor by placing it on a rug that has non-slip grippers on the underside
If your island is on the smaller side, you should anchor it to the ground so that it won’t slide about or topple over
Return The Wood Blocks To Their Original Positions On The Floor: Place the woodblocks back where they were originally located on the floor, within the appropriate outlines
Put a diamond drill bit into the power drill
It is recommended that the diamond bit have a diameter that is either identical to the previous drill bit or slightly bigger
The point of the diamond bit has to be inserted into one of the holes in the woodblock
Create a hole in the tile that is underneath the block with a drill
Continue carrying out these steps for each drilled hole in each block of wood
Drilling down is not a necessary need
In order to prevent the tile from being broken, the diamond bit must simply cut through it
Put a Phillips head screwdriver bit into the power drill, and connect the two
To Tighten the Wood Screws, connect the power drill to a screwdriver bit with a Phillips’s head
A hole in a piece of wood should have a wood screw measuring three and a half inches and a half an inch placed into it
Make the screw more secure to the floor by using an electric drill
Each hole in the woodblock needs to have one screw inserted into it
In addition to this, use a damp towel to remove the lines made by the washable marker off the floor
To raise the cabinets, you will need the assistance of at least one other person
First, the cabinets should be lowered over the woodblocks, and then the remaining stages of the island should be completed
The Following are some other methods for securing a kitchen island to a tile floor: After installing laminate flooring, you could find that you have a few more planks than you needed
This is because it is quite difficult to acquire precisely the proper number of laminate flooring
In the event that your floor has to be restored, set aside a few boards, but the rest of the material may be utilized for crafts
The fact that laminate flooring boards may be painted, decoupaged, drilled, sawed, and bonded enables crafters to create a wide range of attractive and useful goods with them, making them an excellent craft resource
Glue Custom Paper Cutouts: Decoupage is the technique of gluing paper cutouts onto any surface
Since a laminate flooring plank has two smooth and flat sides, it is excellent for use as decoupaged wall art
To create your design, use colored paper to cut out shapes or printed pictures and motifs from gift wrap, scrapbooking paper, newspapers, magazines, or old books
You may also use printed images and motifs from scrapbooking paper
Arrange the paper cutouts on the laminate board in the desired pattern, being sure to keep note of where each one is placed
When you are ready, paint the board with white glue, then carefully place the paper cutouts onto the adhesive and wait for it to dry completely
Adding Decorative Knobs and Cork Liners: If you have the tools and hardware necessary to cut, screw, and nail laminate flooring boards, you may manufacture a variety of helpful items throughout the home
These products include decorative knobs and cork liners
A piece of flooring is used as the base for a wall-mounted hanger that has a row of decorative knobs, hooks, or pegs
This hanger may be used for hanging coats or keys
Gluing rubber shelf liners, cork tiles, or thick felt fabric to the undersides of laminate flooring boards allows you to use these materials as trivets, placemats, or even coasters
One continuous strip of linked boards may be fashioned into a trivet that is long enough to serve as a table runner
Cooktops sinks and outlets for electrical appliances are often put on islands that are linked to the floor
The construction of an island follows the same fundamental principles as the construction of the majority of other cabinets; however, the addition of tiled flooring adds an additional layer of complexity
In the majority of installations, floorboards are screwed into place using wooden blocks that are designed to fit into the foundation
Decoupage, ornamental crafts, and shelf liners are some of the finest ways to fasten the kitchen island to the tile floor
However, you may also pick alternative techniques such as these if you want