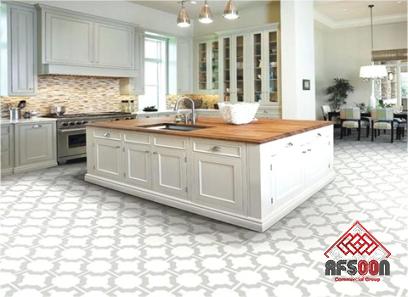
How To Reglaze Old Tiles
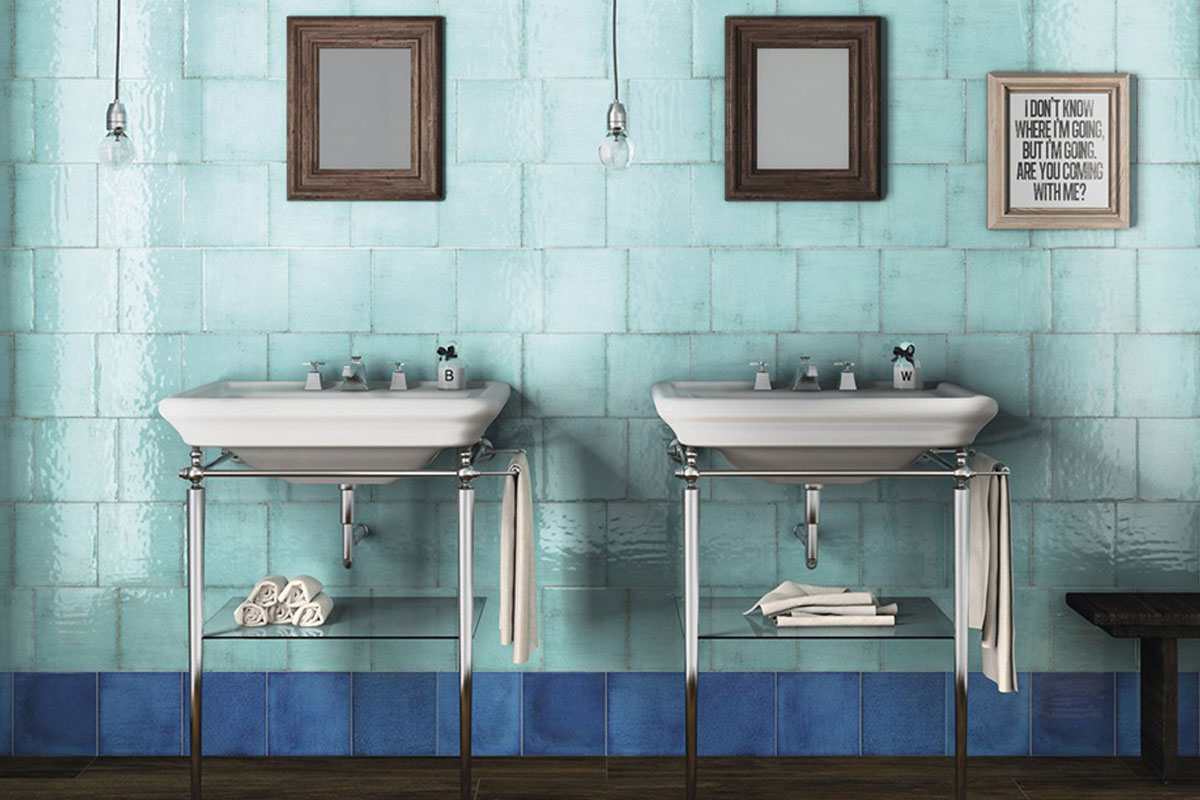
A bath tile surround’s glaze provides the material a gloss and luster that makes it appear clean and new
However, the tiles may become more porous over time, making it possible for stains and discoloration
Even if it doesn’t appear that your old bathroom tiles were initially glazed, a freshly glazed bathroom tile gives you the opportunity to add a new color or, at the very least, a fresh gloss and sparkle
How to Set Up a Tile
Use a non-abrasive tile cleaner to scrub the tiles
Put on your painter’s suit, respirator, gloves, and safety goggles
Sherwin-Williams advises using a professional non-abrasive tile cleaner to scrub all the tiles in order to get rid of any surface debris, stains, and calcium buildup
For a thorough scrub, use a soft-bristle brush
Cover Surfaces to Prevent Glazing
Clear the tile surround of any impediments, such as shower doors
Tape paper or plastic sheets over the walls, the floor, and any other objects to cover any places that you won’t be reglazing
This is especially crucial if you apply primer with a spray
Take the caulk off
With the aid of a silicone digester, remove the caulking surrounding the tub
Pull the caulking off using a putty knife or rubber scraper
Rinse the area off and pat it dry
Use a paste chemical etching
According to Miracle Method Surface Refinishing, etch the tiles using a chemical etcher paste, such as hydrofluoric acid
This will allow the new glaze to cling to the tile surface and prevent peeling properly
To prevent pits or rough spots on the tile, follow the manufacturer’s directions strictly
Scrub the Tiles
After using the etcher, carefully clean the tiles with a degreaser and sponge
This is crucial because the acid will be removed from the tiles by the degreaser and neutralized before being rinsed down the drain
If not, you run the danger of corroding your pipes
Thoroughly rinse and dry the tiles
To avoid using an etcher, you must first sand the tiles with sandpaper before cleaning and drying them once more
The best way to glaze tiles Start by using Epoxy Binding Primer
Apply the primer for epoxy bonding
Hold the can two feet away from the surface and move the spray evenly if you’re using a spray-on primer to make sure that all surfaces, including corners, are completely covered
Two or three light, even coatings should be applied
Before applying the subsequent coat, let the previous one completely dry
Put the Paint on
A roller, brush, or sprayer is used to apply the semigloss or high-gloss latex paint on the tiles
The jackets ought to be uniformly thin
Use as many coats as necessary to get total coverage
Between applications, allow the paint to dry properly
Follow the drying time advice provided by the manufacturer
Spray topcoat on
For the actual Glazing, mist on an acrylic urethane coating resin
For the grout seams, you might want to use a grout sealer
Depending on your preferred color, use either a clear or colored coating
Let it dry for 24 or 72 hours, depending on the resin you picked
Switch out the doors and fixtures
Replace any shower fixtures and doors that were previously removed
The tub’s silicone caulking should be reapplied
Tip Before you begin painting, fix any tiles that are cracked or chipped
Use resin with a 72-hour drying period for optimal results
To achieve the best results from any chemical product, always use it according to the manufacturer’s directions exactly
Be sure to use a reglazing kit according to the instructions provided with the items
Warning While the bathroom is being reglazed, keep it well-ventilated
While you’re working and drying, keep all kids and dogs out of the bathroom because you’ll be utilizing highly hazardous chemicals
Please do not rush the paint application to the tile, even though it can take up to eight hours
Each coat must completely dry before another is applied
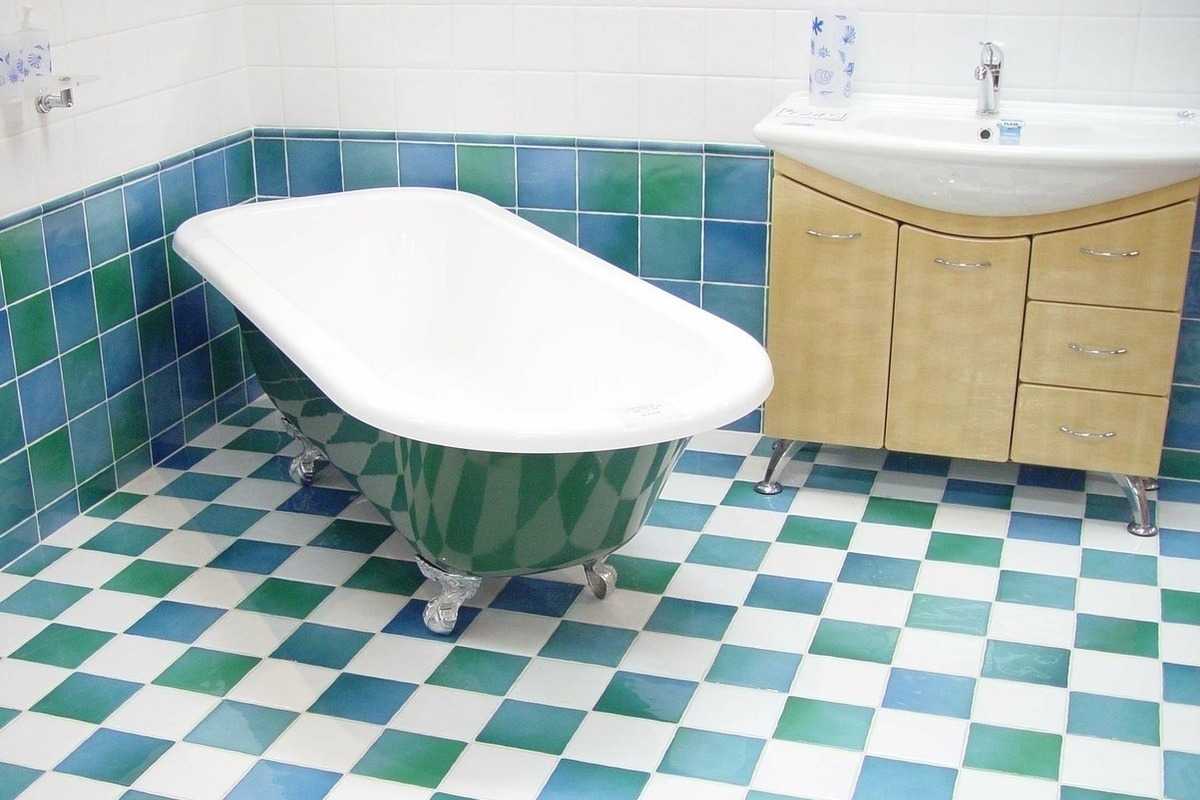
How To Reglaze Tiles
Even beautiful tile might look dingy and worn out due to wear and strain and the changing fashion trends
Are you considering updating the bathroom’s tile without completely replacing it? Reglazing tile might be a suitable compromise since removing and replacing tile is a labor-intensive and time-consuming process
Why Reglaze Tiles? Tile replacement is an expensive and sometimes very disruptive process
Fortunately, there is a more economical alternative
It can be carried out over a few days and ought to have a similar revitalizing effect: Your tile can be reglazed
According to Architectural Digest, reglazing is a perfect solution to update bathroom tile without replacing it if the issue is with aesthetics rather than condition
If your tiles are worn out, cracked, or chipped, you may want to replace them
However, if the issue is with aesthetics rather than a condition, you may wish to replace them
Reglazing tiles as an update to style will extend their lives and is a far easier and less expensive option than a complete restoration
Well-maintained tiles can survive for a very long period
Reglazing, also known as refinishing or repainting, enables you to alter the tile’s appearance to fit your area’s style and color scheme
Due to the mess and the collateral damage that might result from removing the old tile, it can also save you time
Keep in mind that you can even resurface your bathtub when planning future projects
What Exactly Is Reglazing? You’ll need to plan the project first
Make sure the project’s schedule fits your family because tile is typically located in kitchens and bathrooms, two rooms that are quite important for a home
The project can take a few days for homeowners who do it themselves
There are reputable businesses out there that will do the task if your time is needed
It is more expensive than a DIY, but it is considerably less expensive and takes much less time than a complete remodel
The area surrounding the tile you’ll be working on has to be well cleaned
The surface must be spotless and completely dry for the glaze to be properly set
You should thoroughly scrub the tiles to get rid of any dirt, oils, and deposits
After that, thoroughly rinse the tiles with water to remove any remaining soap or cleaners that can interfere with the new glaze’s ability to adhere
After that, the tile’s surface needs to be cleaned
You are welcome to use the acid paste to etch the tiles if you feel comfortable doing so, but make sure to wear the appropriate safety gear
Sandpaper or steel wool can also be used to etch the surfaces in order to roughen them up
This aids in things are sticking
Performing this activity may expose you to various hazardous chemicals depending on the tools and supplies used
You should ensure that you have the appropriate safety gear before beginning this work
Ventilation is crucial, so make sure the windows are open, and there is enough airflow in the space
A mask, gloves, and safety eyewear are essential
The majority of reglazing kits include some of the supplies required for this work, and DIY Network provides a detailed explanation of the procedure
Check the kit to determine if it comes with the cleaning supplies you’ll need
The majority of the kits include a base or primer that needs to be painted on the tile first, as well as a final coat of protective gloss
It is crucial to carefully apply this base layer because it will affect how smoothly the rest of the application goes
For details on the order of application and how long layers should be left alone to cure, refer to the kit’s instructions
While some kits will recommend using an airbrush for an even coating, others will let you apply some components by hand
In either case, adhere to the kit’s directions
The new tile will be prepared for usage once it has had enough time to cure